Fun Littles

Fun and easy kids activities

Spring DIY Wall Art

Apr 6, 201510,097 views
Art Projects
Ages3–8 yrs
Prep10 min
Activity1 hr
Leveleasy
MessHigh
Works for1:1 · Small group · Class

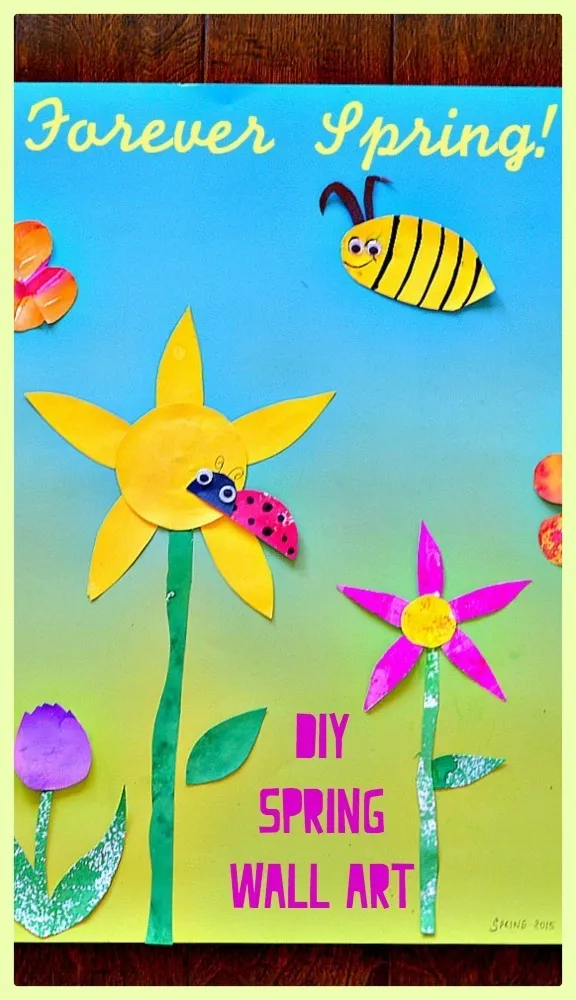
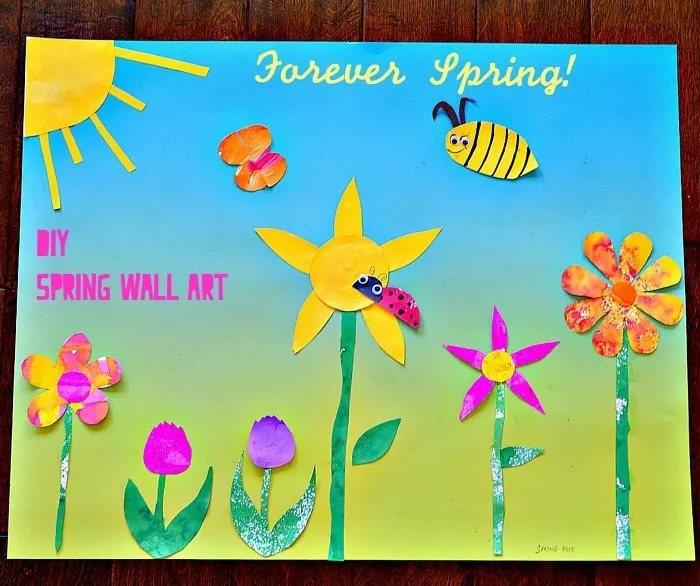
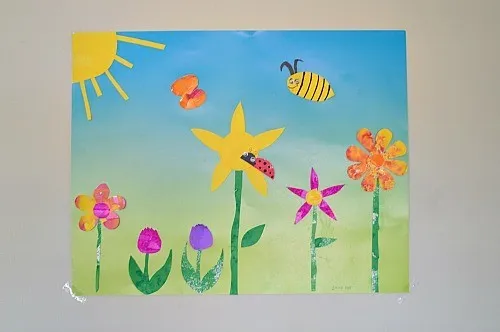
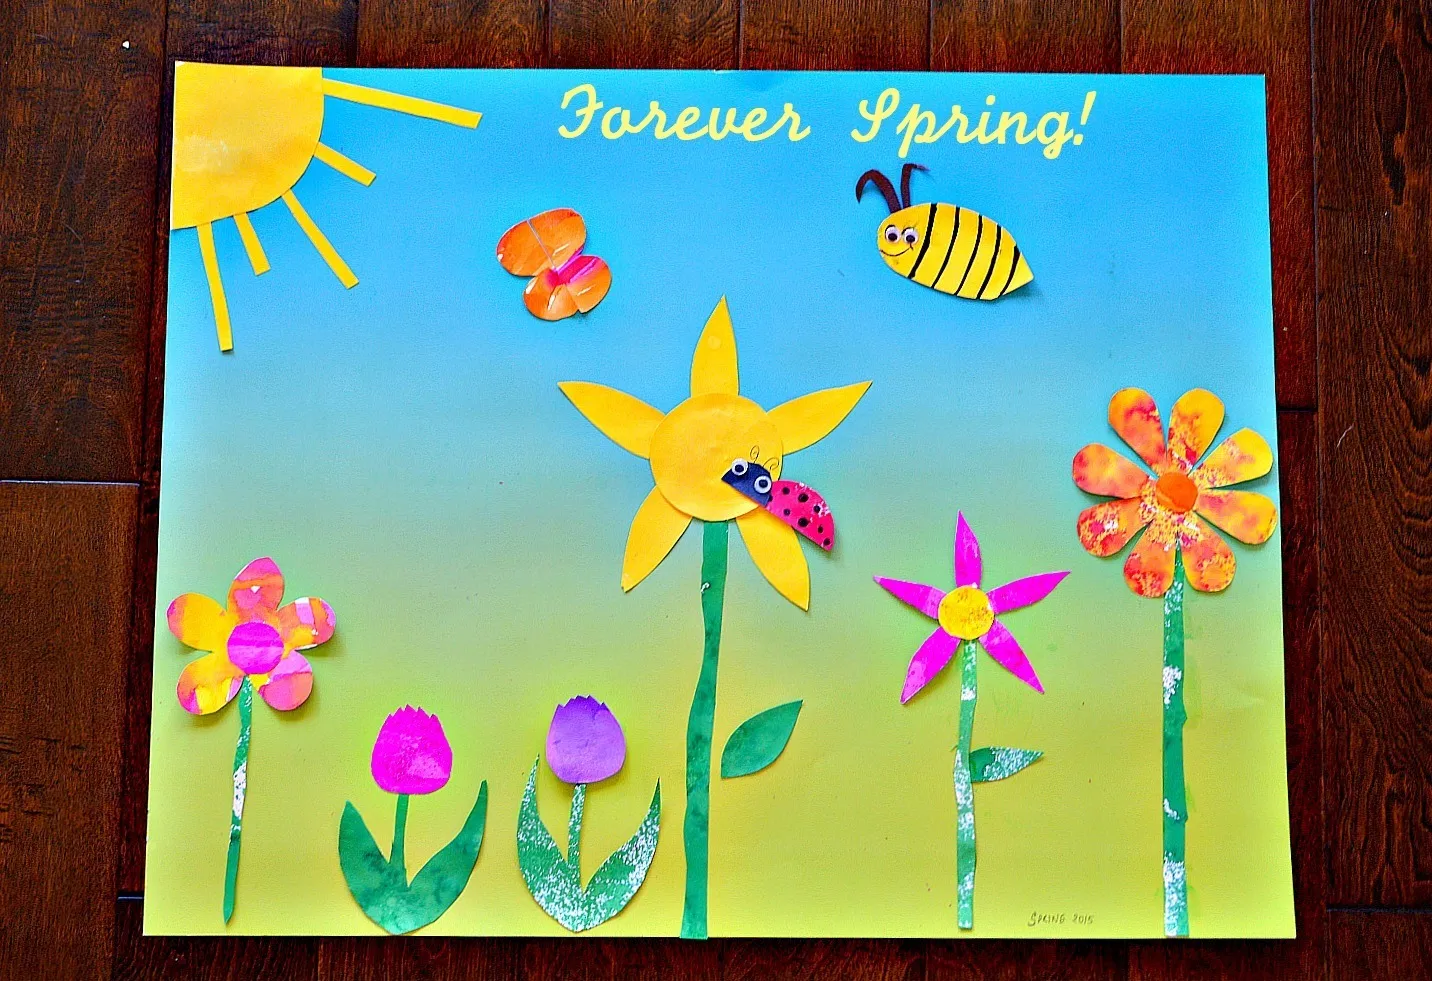
Kids make textured papers by spraying, dropping and splattering liquid watercolors on heavy paper. Then they cut the papers into flowers, stems, leaves, a sun and bugs and arrange them together on a blue-to-green rainbow poster board for collaborative wall art.

⚠️ Safety first

  • Adult handles the rubbing alcohol. It is poisonous if swallowed, stings eyes and is flammable, so use only a few drops, keep it away from flames and work in a ventilated room.
  • Aim spray bottles at the paper only, never at faces.
  • Liquid watercolors can stain clothes, hands and surfaces. Cover the work area and dress for mess.
  • Supervise scissor use. An adult can cut the trickier shapes for younger kids.
  • Keep salt away from eyes and mouths during salt painting.

Before the kids arrive

  • Fill spray bottles with liquid watercolors, one color per bottle, and keep one bottle of plain water.
  • Cover the table or floor; spraying and splattering get messy.
  • Plan two sessions or a break: the painted papers need to dry before cutting and assembling.

Steps

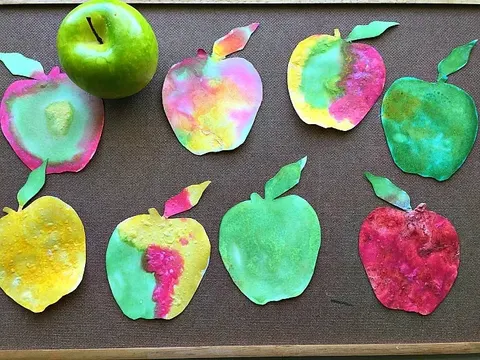
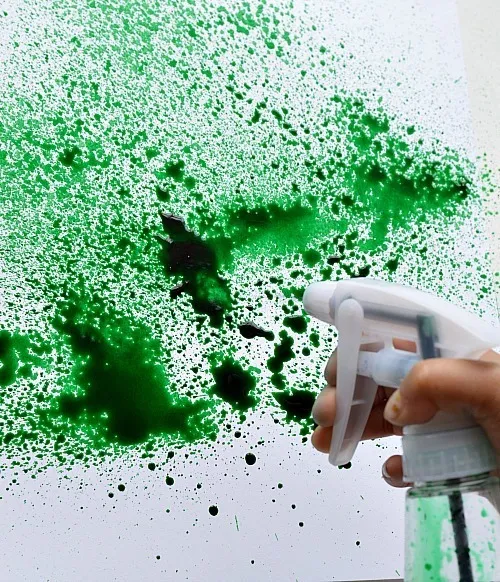
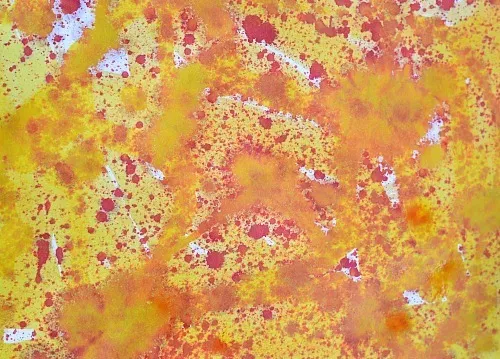
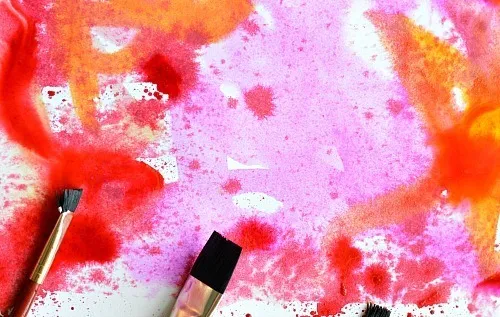
  1. Spray liquid watercolors from the spray bottles onto heavy paper to make splattery textures.

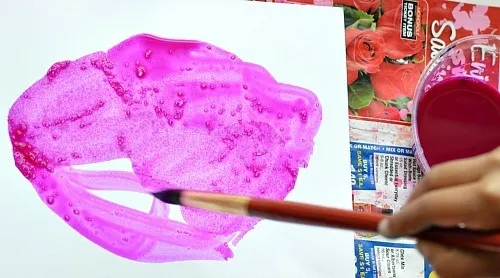
  2. Spray a sheet, then an adult helps drop a little rubbing alcohol on the wet paint for a cool texture.

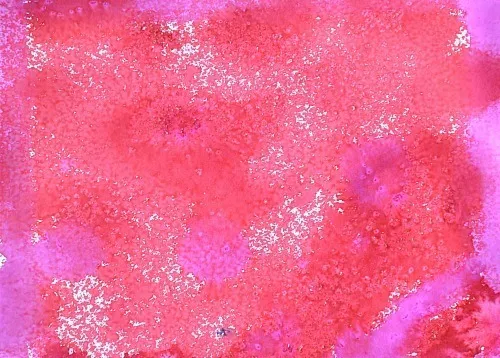
  3. Try salt painting on another sheet for a sparkly, speckled texture.

  4. Spray a sheet with plain water, paint liquid watercolors onto the wet paper, then splatter some color over it.

  5. Drop paint with pipettes and gently tilt the paper to move the color around.

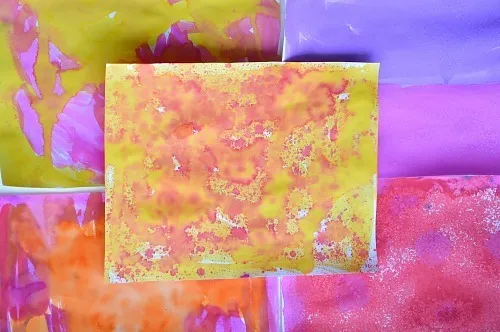
  6. Let all the painted paper dry for a while.

  7. Cut the painted paper into flowers, stems, leaves, a sun and bugs.

  8. Lay the pieces out on the rainbow poster board and move them around until everyone agrees where they go.

  9. Glue each piece in place.

  10. Hang your spring art on the wall with tape.

Tips

  • The kids said their favorite method was spraying watercolors on the heavy paper.from the author
  • Any heavy paper will work, but watercolor paper is probably the best route.from the author
  • Laying out the art on the poster was the best part. There were many arguments (read: fights!) over where each flower or bug should go, but they are all part of collaborative art projects. Live and learn!from the author
  • Placing the pieces is a good chance to talk about seasons, parts of a plant, parts of a flower and photosynthesis.from the author
  • Jot down how you made each texture as you go. We waited to blog and couldn't remember how we got one of ours!from the author
  • Make plenty of painted paper. We made plenty more than we fit on the board.from the author
  • Right now 4 pieces of tape hold our wall art up, and my kids couldn't be any prouder of our work.from the author

Make it your own

  • Add a rainbow. The 6-year-old wanted one, but we couldn't fit it in.
  • Use the other multi-colored poster board from the 2-pack for a desert scene.
  • Do a regular watercolor wash first, then layer on watercolors from a spray bottle.
  • Frame the finished piece in a white frame for the family room.

The story behind it

By TurkeyMom · April 2015
spraying colors
We used our favorite vibrant liquid watercolor paints in spray bottles to get wonderful textures. The kids mentioned that their favorite method was spraying watercolors on our heavy paper.
1 / 10

Spring DIY Wall Art: the original post

Create gorgeous spring art and turn it into wall art while collaborating with the entire family. Use watercolors and a fun poster board.

A while ago we made a fun turkey handprint family art that is still hanging in our family room. Today’s post is about an awesome spring art project you can do with multi-colored rainbow poster board and some fab watercolor techniques.

Spring Art

We used our favorite vibrant liquid watercolor paints in spray bottles to get wonderful textures. The children also used pipettes to spread the watercolors over card stock paper. Any heavy paper will work. But watercolor paper is probably the best route. The kids mentioned that their favorite method was spraying watercolors on our heavy paper. spraying colors Use rubbing alcohol to get this amazing texture. Spray first and then drop rubbing alcohol. Our texture on watercolors post has a detailed tutorial. KIDS WATER COLOR ART Check out our post on salt painting to see how we achieved this texture. SALT PAINTING This is what happens when you don’t blog as soon as you finish the art project. I don’t even remember how we achieved this one. But I know we used spray bottles. If I have to guess, I think we did a regular watercolor wash first and layered it with watercolors from a spray bottle. spray art This is wet on wet method. First we sprayed the heavy paper with regular water. Then used the liquid watercolors to paint on the now wet paper. Then the kids simply splattered some color over them. ART FOR KIDS WITH WATERCOLOR All the watercolor art together. We made plenty more!! You can also drop some paint using pipettes on the paper and move it around by gently moving the paper. Let all the painted paper dry for a while. KIDS ART WATERCOLORS The kids and I cut out all the paper painted with watercolors. There were flowers, stems, leaves, sun, bugs. The 6 year wanted a rainbow as well! We weren’t able to fit that one in. So if you are doing this project a rainbow would be a fab addition. Cut out the painted paper and now they are ready for a funtastic spring art project.
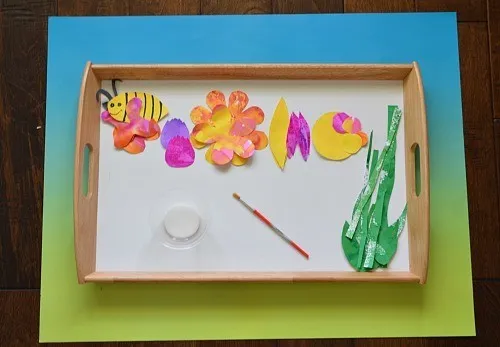
materials for spring art

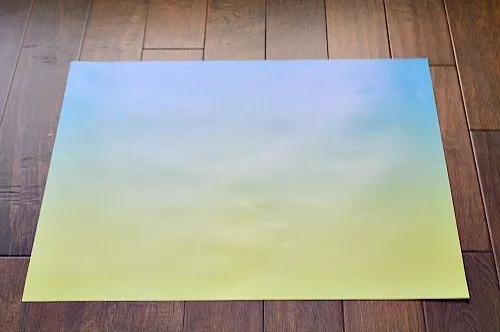
So I found this awesome multi colored poster board at Target a long time ago and instantly knew what to do with this. These come in 2 packs and the other multi colored poster board is perfect for a desert scene { which we plan to do shortly} board
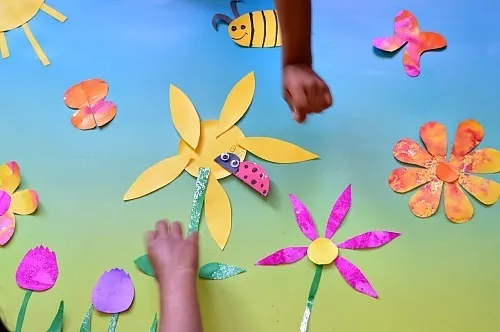
DIY Wall Art : Spring Art with various watercolor techniques

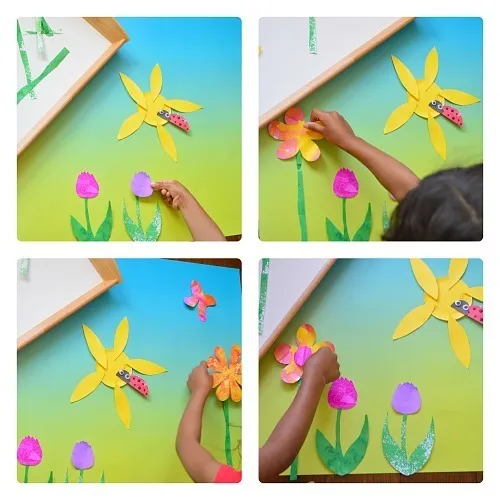
The children spent time laying out the art on the poster. This was the best part! Well there were many arguments { read fights!!} as to where each flower or bug should do. But they are all part of collaborative art projects. Live and learn! This spring art project gave the kids lot of opportunities to connect with each other, problem-solve, visualize and exercise their fine motor skills and spatial skills. WORKING ON SPRING ART PROJECT The entire process of placing the objects was enjoyable. Good chance to talk about seasons, parts of a plant, parts of a flower, photosynthesis. I love the way art projects are not only calming and fun but often times they end up as a gateway to explore and learn advanced concepts. Isn’t it amazing? process of making spring art Clearly your Spring Art will look MUCH better if it is framed in a nice chic white frame and hung over a comfortable couch in your family room. { That’s my vision!} I’ll probably get to it some day haha.. Right now 4 pieces of tape is holding the wall art up and my kids couldn’t be any prouder of our work! wall art kids What’s not to love about collaborative kids art project that instantly turn into a gorgeous wall art for your home. v
More inspiration!

I LOVE the spring glyph made by fellow RAM {Rockin’ Art Moms} Meri Cherry Chelsey { another RAM woo hoo!} has this adorable adorable water color spring art project as well. Jeanette has some amazing watercolor techniques for you to try.! rocking art moms
DIY WALL ART FOR SPRING

What readers say

No comments yet. Be the first to tell us how it went.

Tried it?

Reviewed before it appears. No links, and please no children's names.

Similar activities

🛒 Materials