We are at it again with this vibrant and creative art project for kids using watercolors. All our watercolor art projects have been a big hit with our kids. Art projects category page
Process
In a metal tray we started with some good quality watercolor paper to catch all the drips and splashes. We have had fun with a lot of watercolor art projects over and I cannot stress the importance of the watercolor pad. While it maybe tempting to skimp on the paper since those pads do not come cheap, it makes or breaks the art project, really. We have used a variety of them and have been satisfied with most of the brands like Strathmore and Canson. If you really want a high quality you can try Arches - this is what my daughter uses in her art classes.
Then in mini shot glasses we mixed a wide variety of paints. Some were diluted liquid watercolors, some watercolors that come in tubes like these mixed with water and some even washable acrylic paint again diluted with water. We found that studio acrylic paint ( the thick studio variety) did not work well since it was hard to mix and get the right watery consistency
Once satisfied with the colors and consistency, it is time to just pour, splash and mix. Just go with the flow and have fun pouring the watercolors on your paper.
Some paint was simply poured and twirled around. We used a brush on some splatters to gently mix them. Couple of watercolor blobs were blown on to move the paint around (like we did here with our fall tree art)
It was great to use the cookie sheet to catch and keep all the paint in one place. Use a tissue to dab and lift colors as you go. Just whatever you feel like. Such a great creative open ended process art where anything really goes.
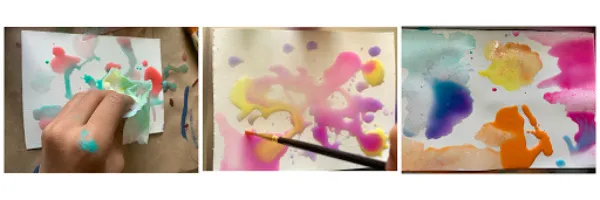
Process of creating watercolor splatters and blobs
Then it is pretty much a waiting game. Depending on the amount of watercolors, it might need an overnight drying time. Ours took a while to be completely dry since we soaked all our papers. Once dry all you need is a fine tip black maker. We used a couple of different types of markers to get different results.
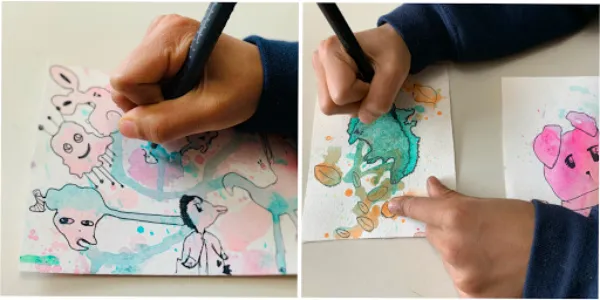
After all of the splatters dried we realized we had 3 types of results.
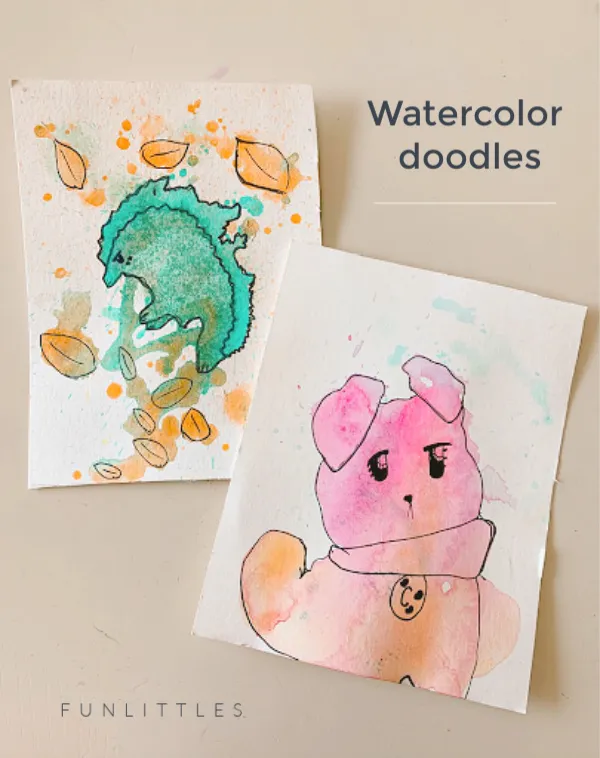
Splatters that created patterns
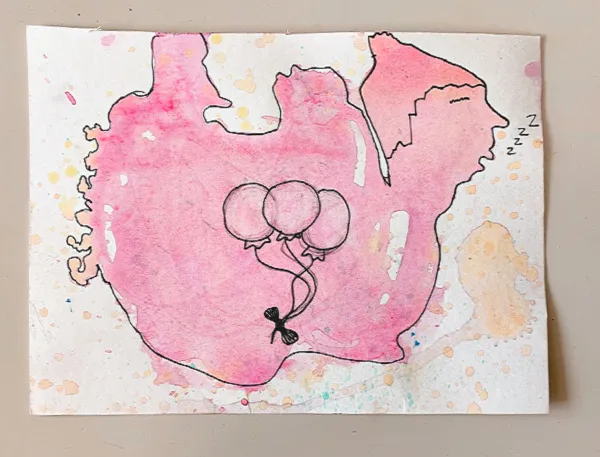
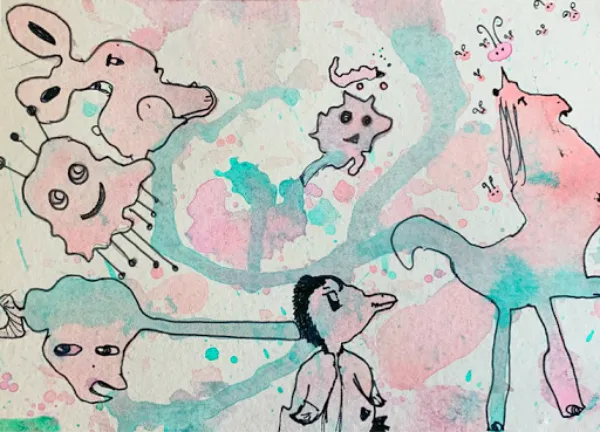
There were some where interesting patterns were formed from the twirling, pouring and the splattering. Those were used to make these. My 9 year old who is the artist of the house ended having a lot of fun defining and creating shapes from those splatters. Here is a hedgehog jumping into a pile of fall leaves and a pink puppy!
A peaceful and maybe even meditating amphibian blowing bubbles? 2 guys and one trying ti lick some sort of sweet. There is a weirdly excited slithering creature that is holding something and a coral reef.
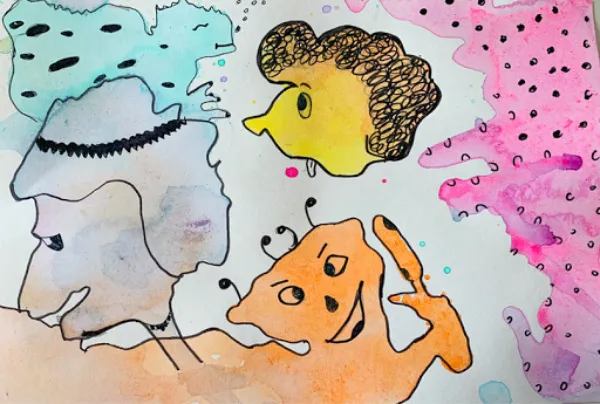
This is Gary from SpongeBob right? An anthropomorphic sleepy snail who apparently ate some Helium balloons!
Blended colors that created backgrounds
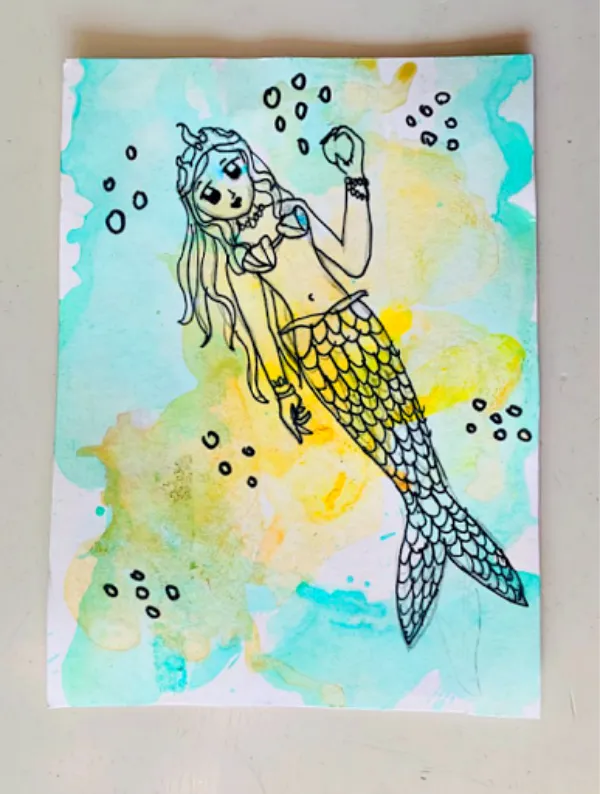
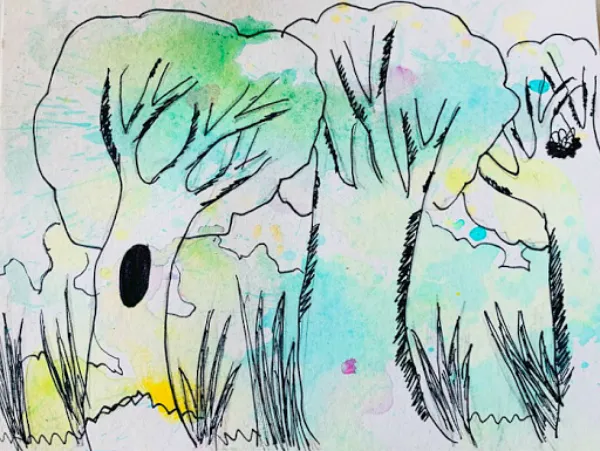
Second type that came out this watercolor art project are just blended backgrounds. When we soaked the paper and poured a lot of watercolors the colors just ran into each other and did their own thing. ( I wish I took pictures of the dried papers before my daughter doodled on them) If you can mentally remove the doodles from the below image you can see what I’m talking about. When a blended color soaked watercolor paper dries, we simply doodled images on that we thought went with the theme and colors. Here there were a lot of greens and yellows so somehow that made us think underwater scene and a woods/nature theme.
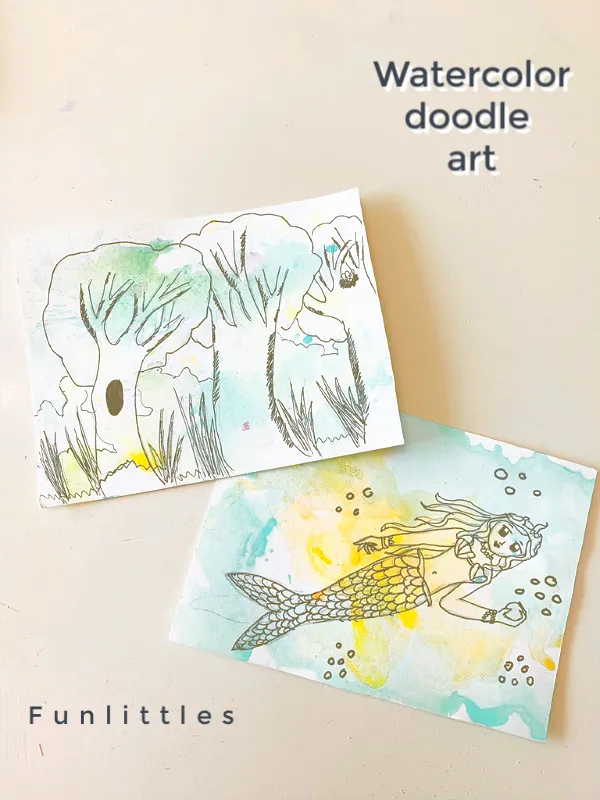
Yep! That’s a little mermaid having a splash drawn by our resident artist
A wooded area with a nest was a good fit for this blended background
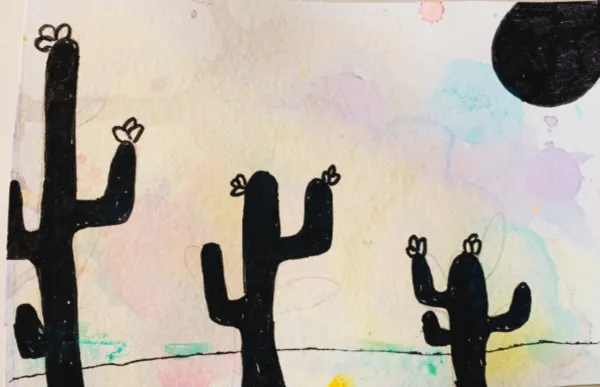
This purples and yellow watercolor background became a desert scene.
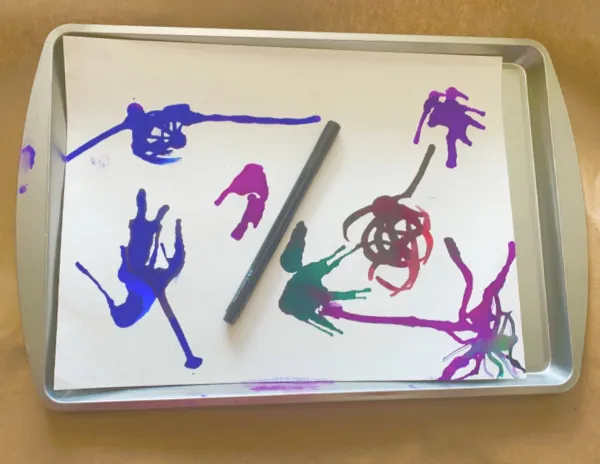
Liquid watercolors blobs turned into something very different
We also used our favorite liquid watercolors and poured them on the paper and started swooshing and blowing the paint around and then ended up looking like this.
After an overnight drying session, they were transformed into Mr. Evil Octopus, a ram,, kangaroo etc.. To me, the deep liquid watercolors gave these figures a very graphic novel look! We ended up cutting out the individual pictures and maybe use them fun story cards - a perfect boredom buster for the upcoming long quarantine days.
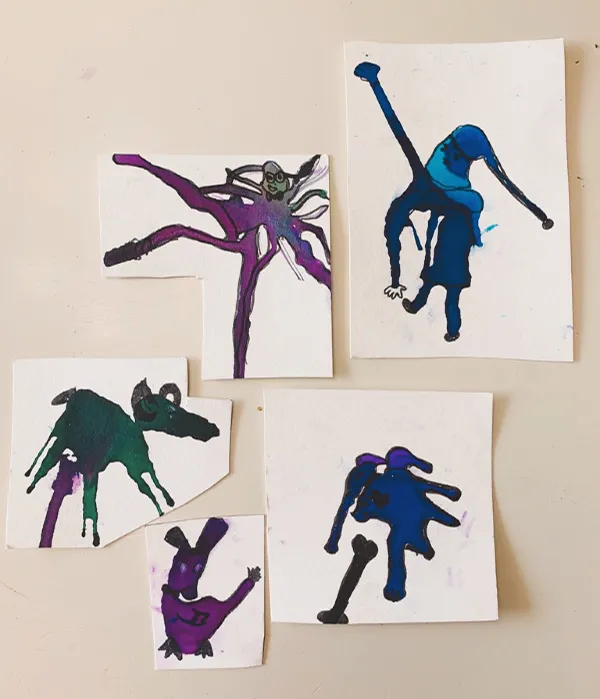
An easy open ended art project that just makes you go with the flow - literally. We just let the watercolors just flow all around the paper without any intention.
Materials
- Good quality watercolor pads
- Watercolors - tubes or Liquid Watercolors
- Washable Acrylic Paints ( not the studio variety)
- Cookie sheets, containers and brushes as per your preference
- Good fine tip markers ( We love Staedler and Sharpie)