Fun Littles

Fun and easy kids activities

Homemade Glue Window Clings

Mar 29, 20138,815 views
Pre Schooler
Ages3–6 yrs
Prep20 min
Activity30 min
Leveleasy
MessMedium
Works for1:1 · Small group · Class

Paint a thick coat of colored white glue onto Ziploc bags, let it dry for a day, then peel the clings off and stick them on a window. Kids can trace spring printables slipped inside the bags and add details with a washable marker.

⚠️ Safety first

  • Plastic bags are a suffocation hazard for young children. Hand out the Ziplocs for painting only and collect them afterward.
  • Glue paint is not food. Supervise so kids don't taste the colored glue.
  • Food color can stain hands, clothes and surfaces. Cover the table.
  • Use a washable marker if kids draw details on the clings or the window.

Before the kids arrive

  • Print spring-themed pictures (optional) and slip each one into a Ziploc bag.
  • Plan for drying time: the clings take a whole day to dry completely before you can peel them.

Steps

  1. Mix white glue with food color in a separate cup for each color.

  2. Add 2-3 drops of dish soap to each cup and stir.

  3. Paint a really thick coat of colored glue onto the Ziploc, following the picture inside if you have one.

  4. Stick to one color per picture if you don't want the colors to run together.

  5. Lay the bags flat to dry for a whole day so the glue doesn't flow around.

  6. Peel each dry cling off the Ziploc.

  7. Press the clings onto a window.

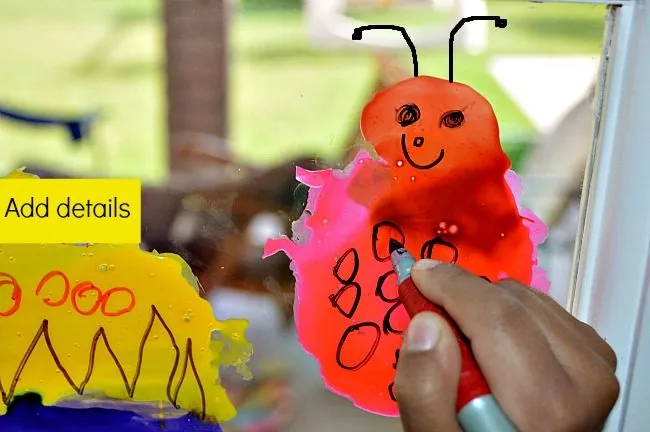
  8. Add faces and details with a washable marker.

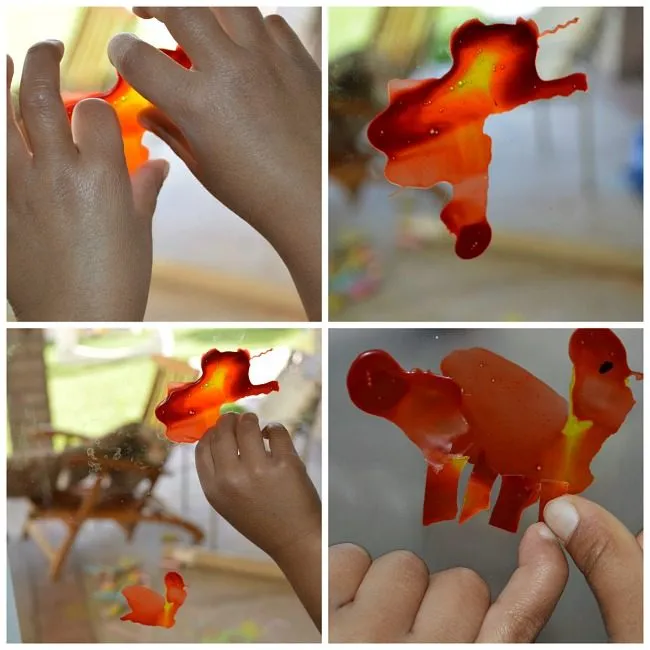
  9. Tear any ripped or runny clings into bits and build a brand-new picture with them.

Tips

  • Make sure the child applies a really thick coat of glue for easy removal. We had a few rip because the glue was not thick enough.from the author
  • It's better to stick to a single color on one image, since the glue flows and the colors run into each other. My 4 year old used multiple colors anyway, and those looked beautiful as well.from the author
  • Set them out to dry on a flat surface to keep the glue from flowing all around. It took a whole day for ours to dry completely.from the author
  • Removing the clings from the Ziploc is just as fun as painting.from the author
  • If you want to save the clings, remove them from the window within 3 days. The longer they stay, the harder it is to get them off in one piece.from the author
  • Thin clings won't come off the window in one piece, but they come off fairly easily with a small amount of scrubbing. No marks, no stains whatsoever.from the author
  • Turning kids' art into window décor is wonderful for their self-confidence. My daughter loves to show her creations to people who visit us.from the author

Make it your own

  • Break abstract or ripped clings into pieces and arrange the bits into a whole new image on the window.
  • Use several colors on one cling for a blended, abstract look.
  • Skip the printables with older kids and let them paint freehand shapes.

The story behind it

By TurkeyMom · March 2013
glue paint for wndow clings
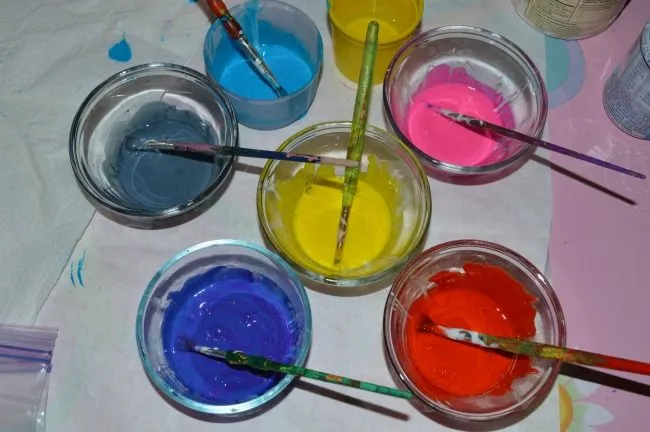
I made colored glue (glue plus food color) in different cups, with 2-3 drops of dish soap added in each cup.
1 / 8

Homemade Glue Window Clings: the original post

Have you made window clings with glue? This was our first time and the process was great and fun for the kids. I’d say my 4 year old was extremely pleased with the process and requested for more glue. This time we created some spring themed window clings. Please read the note at the end f this post before attempting this kids activity

  • White Glue
  • Dish Soap
  • Food Color
  • Ziploc
  • Themed printable (optional)

I made colored glue (glue+food color) in different cups with 2-3 drops of dish soap added in each cup. I also printed out spring themed creatures and slipped into Ziplocs. This part is optional if working with an older child. Initially I thought both my 2 year old would be participating and printed out the images with her in mind.
glue paint for wndow clings We applied a thick coat of colored glue on the ziplocs. Make sure the child applies a really thick coat of glue for easy removal of the window cling. We had a few of them rip because the glue was not thick enough. Turning kids activities and kids art projects into window décor or a piece of permanent display is wonderful for their self-confidence. My daughter feels very happy and excited and loves to show her creations to people who visit us.
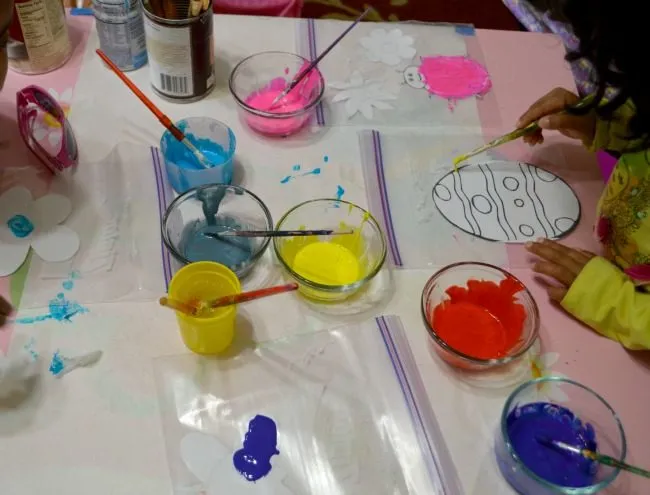
painting with glue While painting, it is better to stick to a single color on one image since the glue seems to be flow and the colors tend to run into each other. However my 4 year did use multiple colors, I thought those looked beautiful as well. After glue painting on the Ziploc, we just set them out to dry on a flat surface in order to prevent the glue from flowing all around< we did have a few of those and my 4 year old had a cool idea to use them> It took a whole day for the window clings to dry completely.
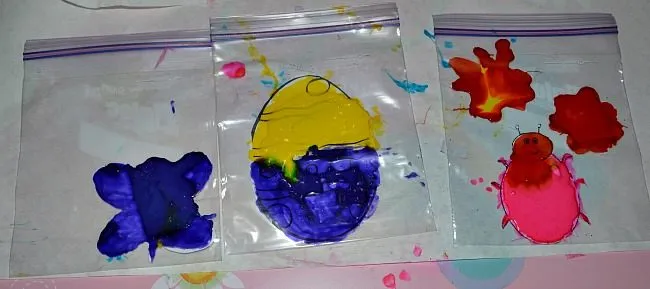
spring crafts homemade window clings Removing the clings from the Ziploc is just as fun as painting.
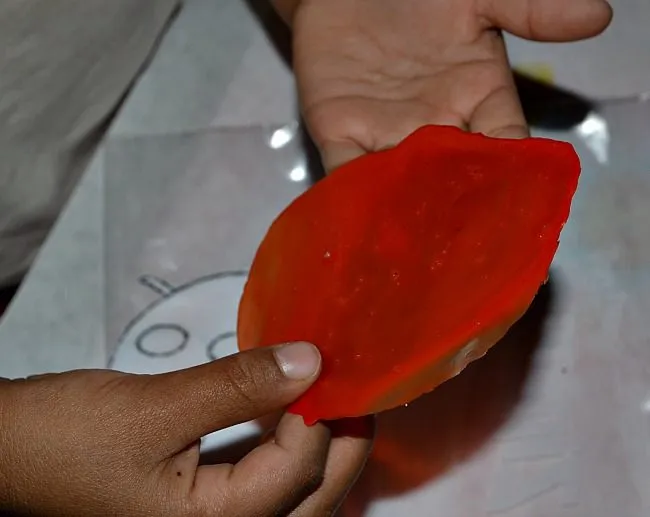
homemade glue window cling Then I left it to my kid to decorate the windows.
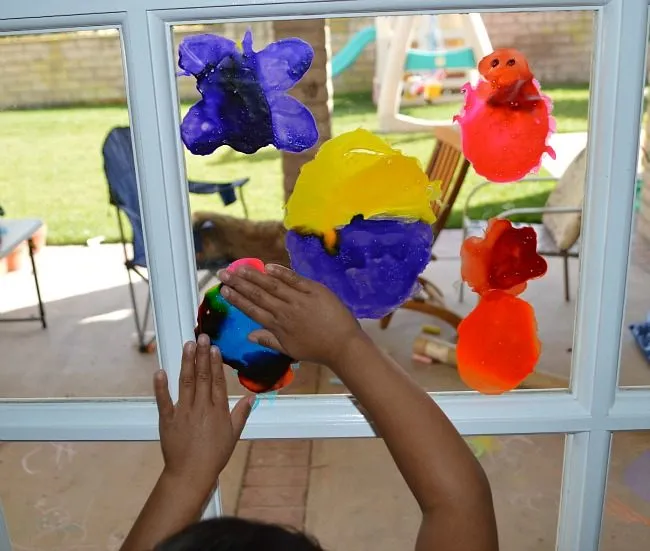
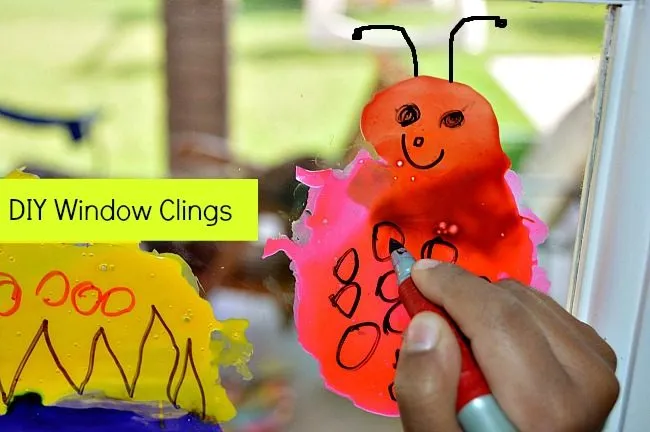
gluing on window clings homemade She even added details and facial features to her creations using a marker. That was her own idea and I love kids activities like these which give the child an opportunity to show their twist However a washable marker is advisable
decorating spring window cling bee Remember those window clings that ripped? Some very abstract ones ( where the glue had flowed all over) were broken into pieces by my child. Before I had chance to ask her why she was tearing her stuff, she squealed “ look what I’m making with these bits?” Yeah she created a whole new image with those bits of glue clings. Again, open ended kids activities are the best kind which makes the child think for her own and take the activity in any direction they choose.
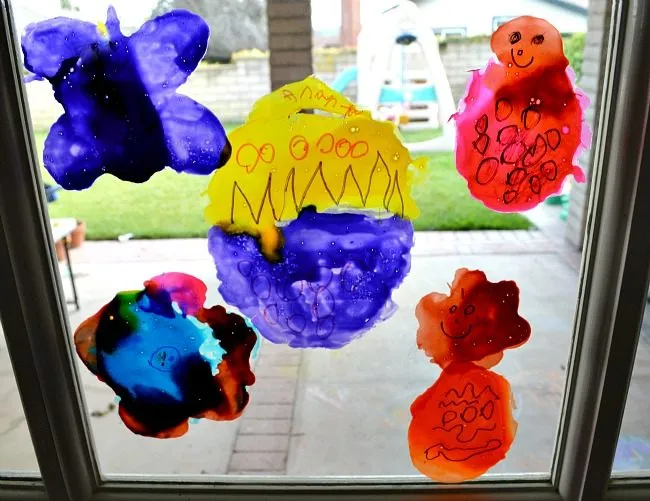
kids with abstract window clings Our spring themed home glue clings window décor.
diy window clings with glue

Thanks for reading Please take a moment to comment

Note: If your cling-ons are not thick enough removing them from the window will be hard. They will come out but not in one piece. They don’t leave any marks or smudges. If you are trying to save your child’s creations I’d recommend 2 things 1. Apply a thick coat of glue 2. Try to remove the window clings from the window within 3 days. The longer they stay the harder it is to remove them in 1 piece. However, if you are not keen on saving those window clings then these does not matter. They come out fairly easy with a small amount of scrubbing. No marks, no stains whatsoever. Thanks for stopping by our little space here. We encourage you to stick around and take a look at couple of our popular posts.


What readers say

💬 6 comments

🎉 Worked for us

Simple ingredients from around the house

A fellow blogger liked that this craft uses simple household ingredients.

“I love that it uses simple ingredients from around the house!”
happyhooligans, Apr 2013

Tried it?

Reviewed before it appears. No links, and please no children's names.

Read all 6 comments
  1. 1978rebecca · Apr 2013

    Oh that's really clever! Bet they look lovely in the light. Thanks for linking to the Sunday Showcase. I've pinned it to our board.

  2. happyhooligans · Apr 2013

    Fabulous idea, ladies! I love that it uses simple ingredients from around the house!

Similar activities

🛒 Materials