Fun Littles

Fun and easy kids activities

One-Ingredient Glitter Glue Treasures

Aug 21, 20164,846 views
Messy Play
Ages3–8 yrs
Prep5 min
Activity15 min
Leveleasy
MessMedium
Works for1:1 · Small group · Class

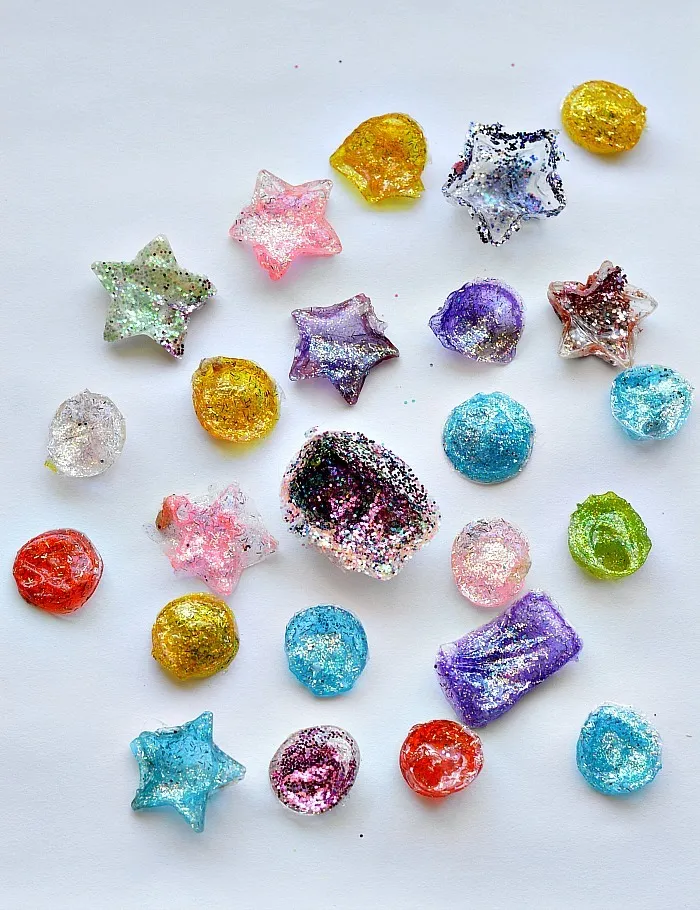
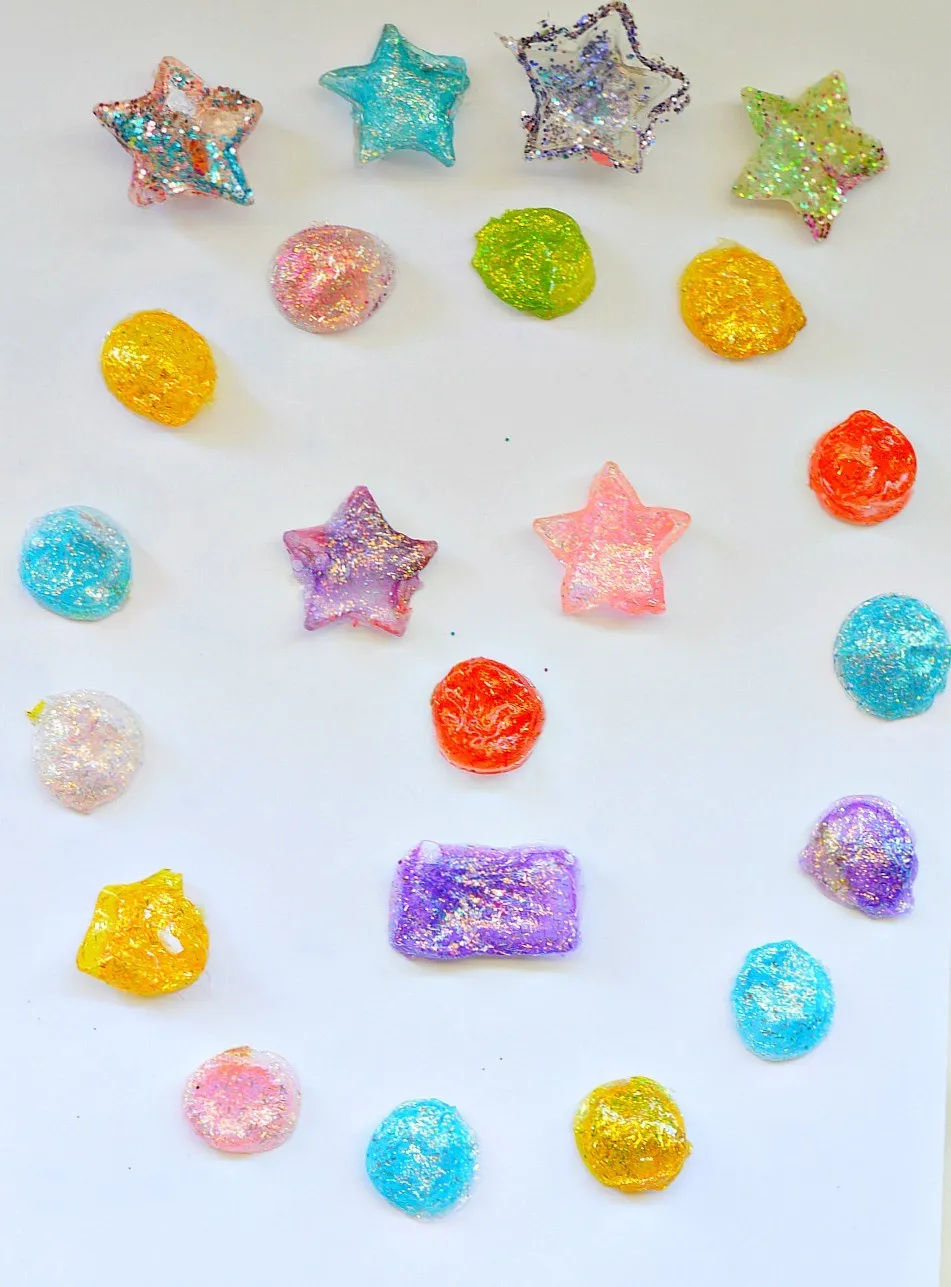
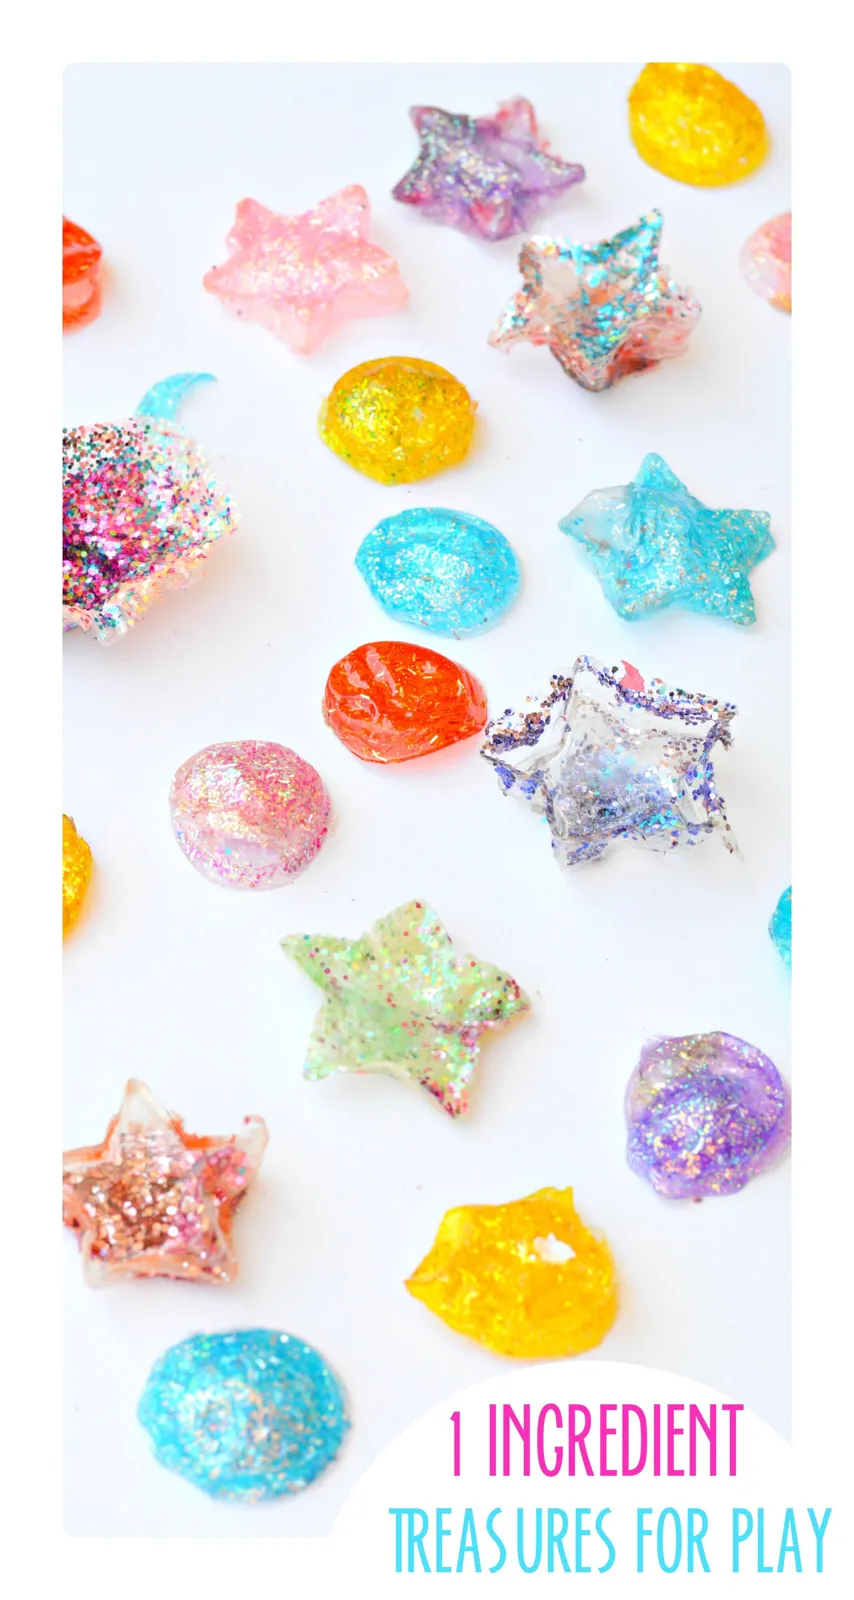
Fill silicone ice cube trays with glitter glue and let them dry in the sun for about 3 days to make shiny, translucent gems. Use them for pretend play, open-ended art and learning.

⚠️ Safety first

  • The finished gems are small and can be a choking hazard. Keep them away from children who still mouth objects, and supervise play.
  • Glitter glue is not food. Wash hands after handling it and keep glitter away from eyes.
  • An adult should trim the dried edges with scissors.

Before the kids arrive

  • Pick a sunny spot where the trays can sit undisturbed for about 3 days.

Steps

  1. Squeeze glitter glue into each cup of a silicone ice cube tray.

  2. Fill the cups with different colors to make a rainbow of gems.

  3. Set the filled trays out in the sun to dry, and check them every day.

  4. After about 2 days, flip the gems over so the bottom part can dry.

  5. After 1 more day, pop the gems out of the tray.

  6. Adult: trim the edges with scissors for a clean cut.

  7. Hold the gems up against the sunlight and watch them sparkle.

  8. Use the treasures for pretend play, open-ended art or as learning manipulatives.

Tips

  • Glitter glue gives translucent gems that totally trump the white-glue-and-glitter version.from the author
  • Push-pop-out silicone trays came in handy for turning the gems over and prying them out once dry.from the author
  • Hold them up against sunlight. They look quite mesmerizing.from the author
  • The stars were our favorites, and I'm in love with the gold pieces.from the author
  • Trim off the edges once the gems dry for a cleaner cut.from the author

Make it your own

  • Play dragons, princesses and treasure chest with the gems.
  • Arrange the gems into a face, and give it a crown.
  • Pair them with wood cookies and Shopkins for pretend play sessions.
  • Use them as manipulatives for learning activities.
  • Use them in open-ended art projects.

The story behind it

By TurkeyMom · August 2016
MATERIALS
Ready to make super shiny gems and treasures that your kids will adore? Set up takes just 5 minutes with glitter glue and ice cube trays.
1 / 9

One-Ingredient Glitter Glue Treasures: the original post

Make these super simple treasure gems with just one ingredient. Use them in play, learning or any kids activities. When the kids even younger { 2 &$} we love a good play recipe that kept them engagaged and satisfied their sensorial needs. We still do! It’s crazy that I’m even writing this play recipe post since this was made just for my kids who love to hold on homemade treasures. They are always the kids who gravitate towards all things miniature and are big collectors of odd things they find on our walks. We had our sparkly gems and treasures for a long time and the kids used them as props in many of their pretend play and role play kids activities Ready to make super shiny gems and treasures that your kids will adore? Set up : 5 minutes Supplies
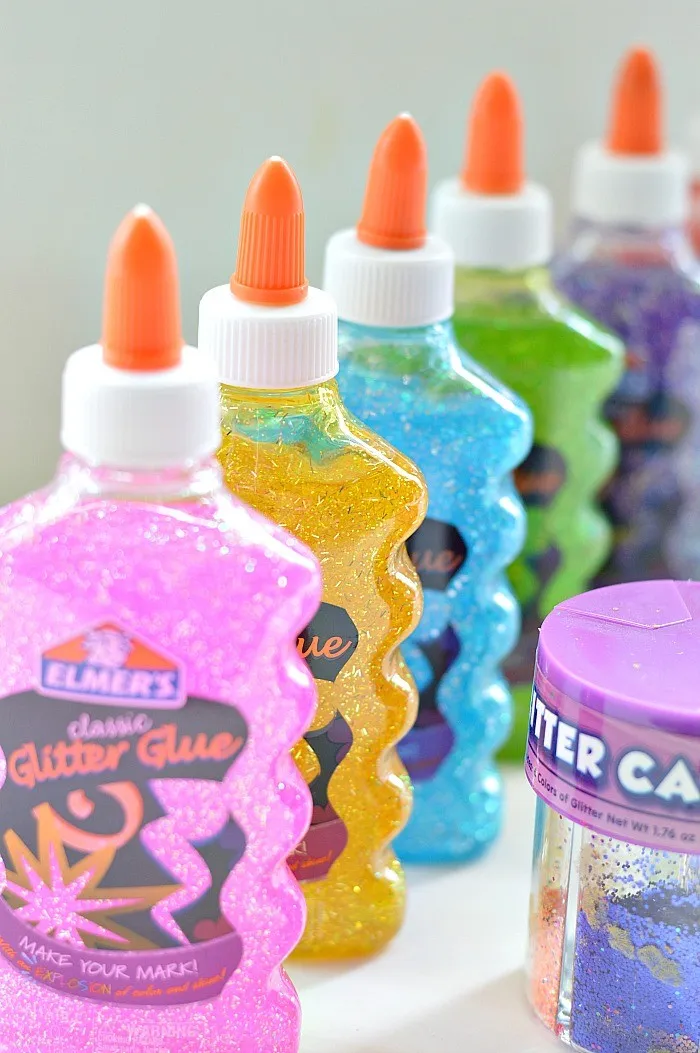
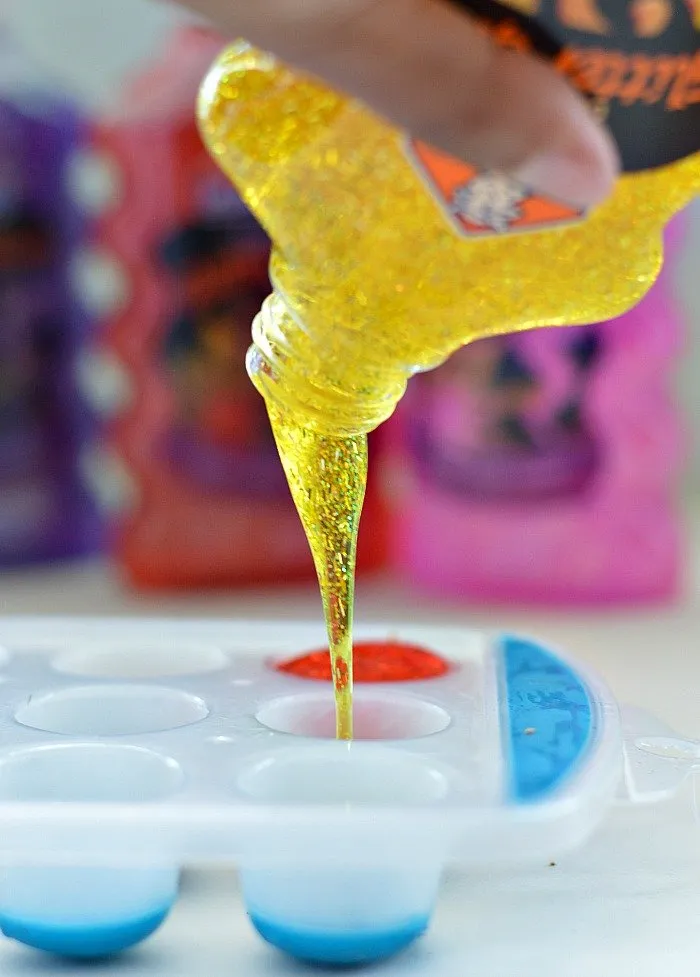
MATERIALS

glue in molds

We filled out our ice cube trays { we used star shapes and circular ones} with glitter glue and set them out to dry.
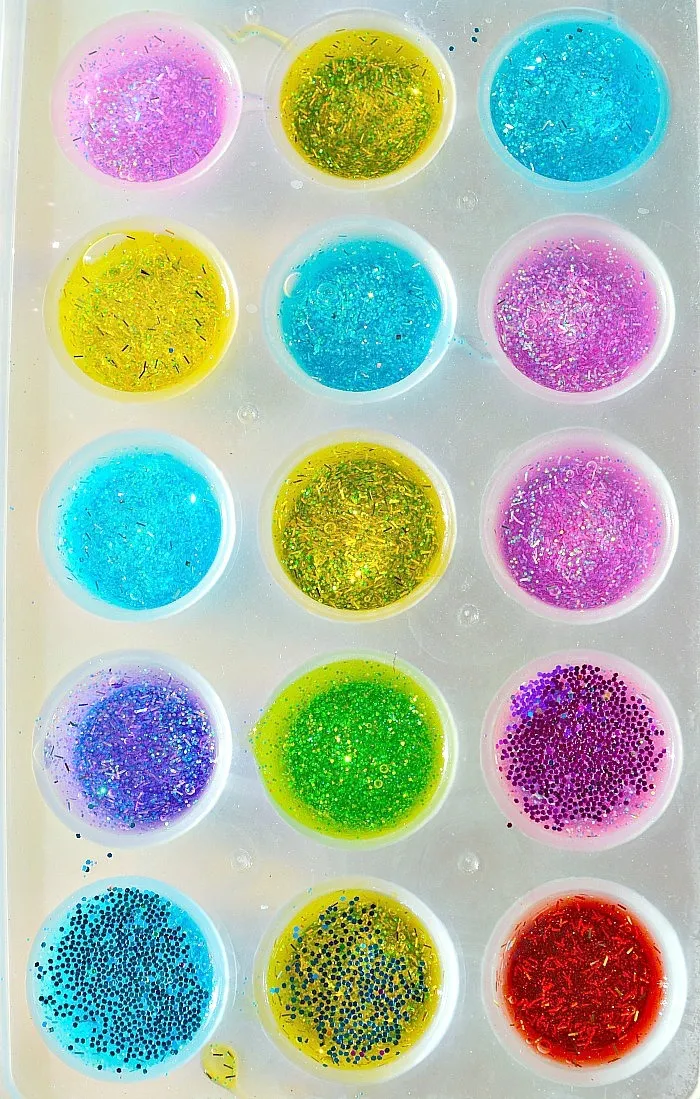
gue treasures gems

This one is from our earlier attempt where we used white glue and glitter. You can try this as well but the translucent gems that we got from using glitter glue totally trumps these guys.
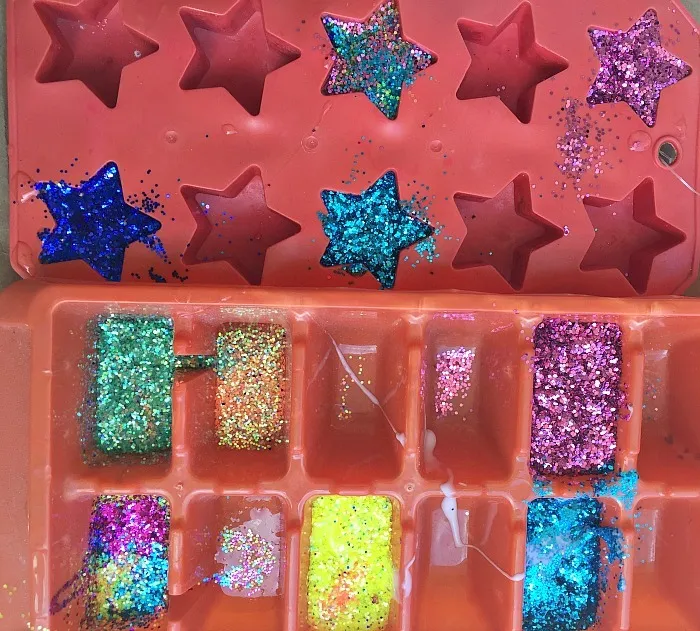
gems drying

Like I said earlier since I was not planning on posting this project I did not click pictures of the drying process. It is very simple and straightforward though. Set the glitter glue filled ice trays in the sun and check everyday. After a couple of days you should be able to turn them upside so as to give the bottom part a chance to dry. This is where this easy push pop out mini ice cube trays came in handy. But any silicone ice cube tray should work since they are very easy to manipulate while trying to pry out the dry glue gems. The dried glue gems are amazing to look at.
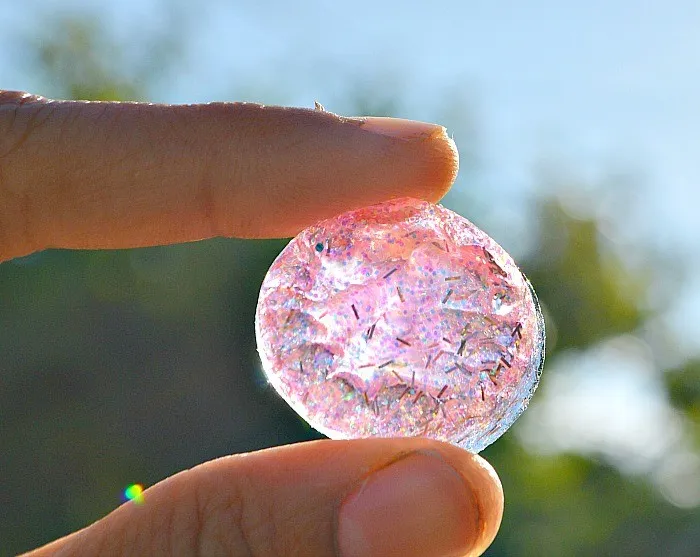
diy play treasures

Hold them up against sunlight and they look quite mesmerizing
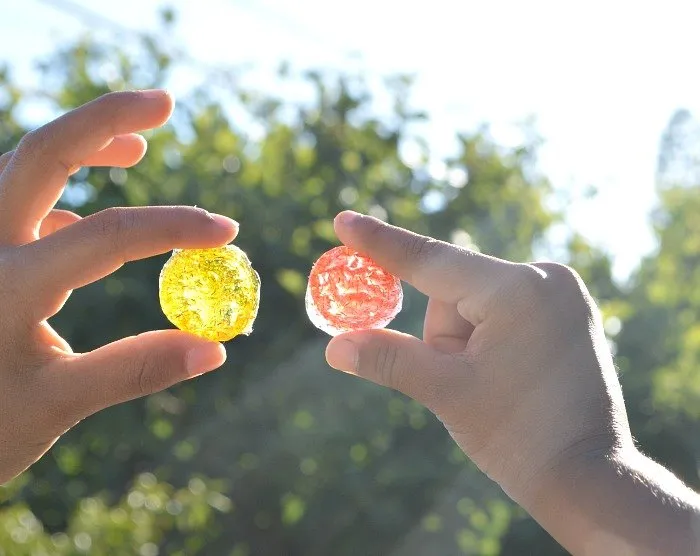
glue gems

These stars are our favorites. They dazzled in the sunlight and the kids couldn’t wait to play dragons, princesses and the treasure chest with them. Once the glue gems dry trim off the edges for a cleaner cut.
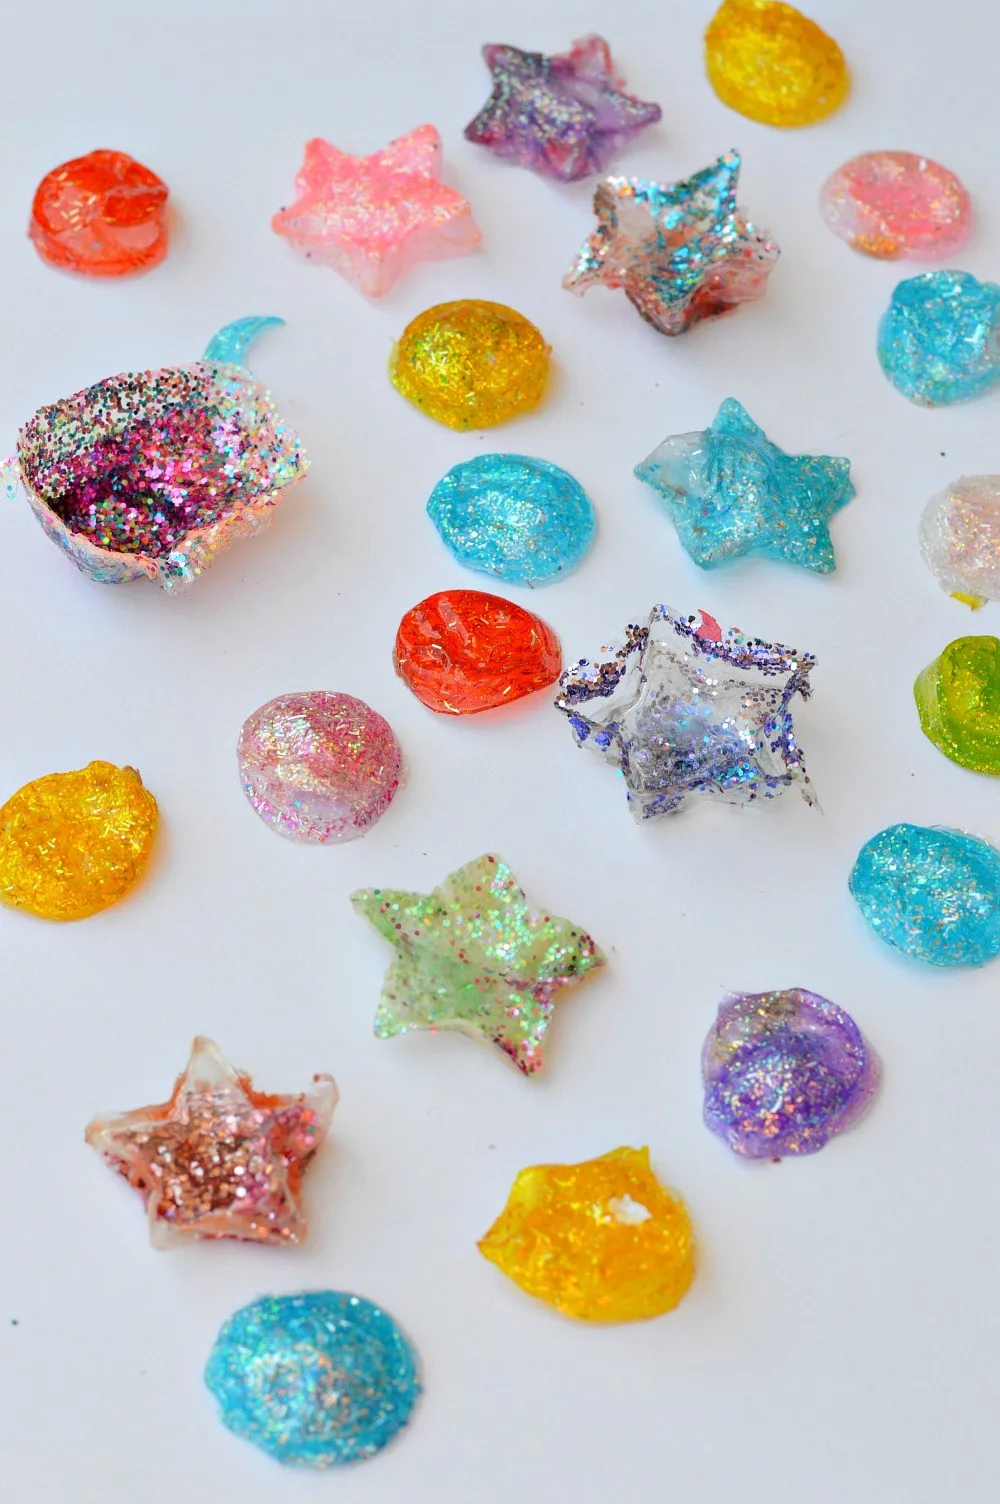
one ingredient play gems

I’m in love with the gold pieces

make your gems for play

Use them as manipulatives and use them for learning or for open ended art projects.
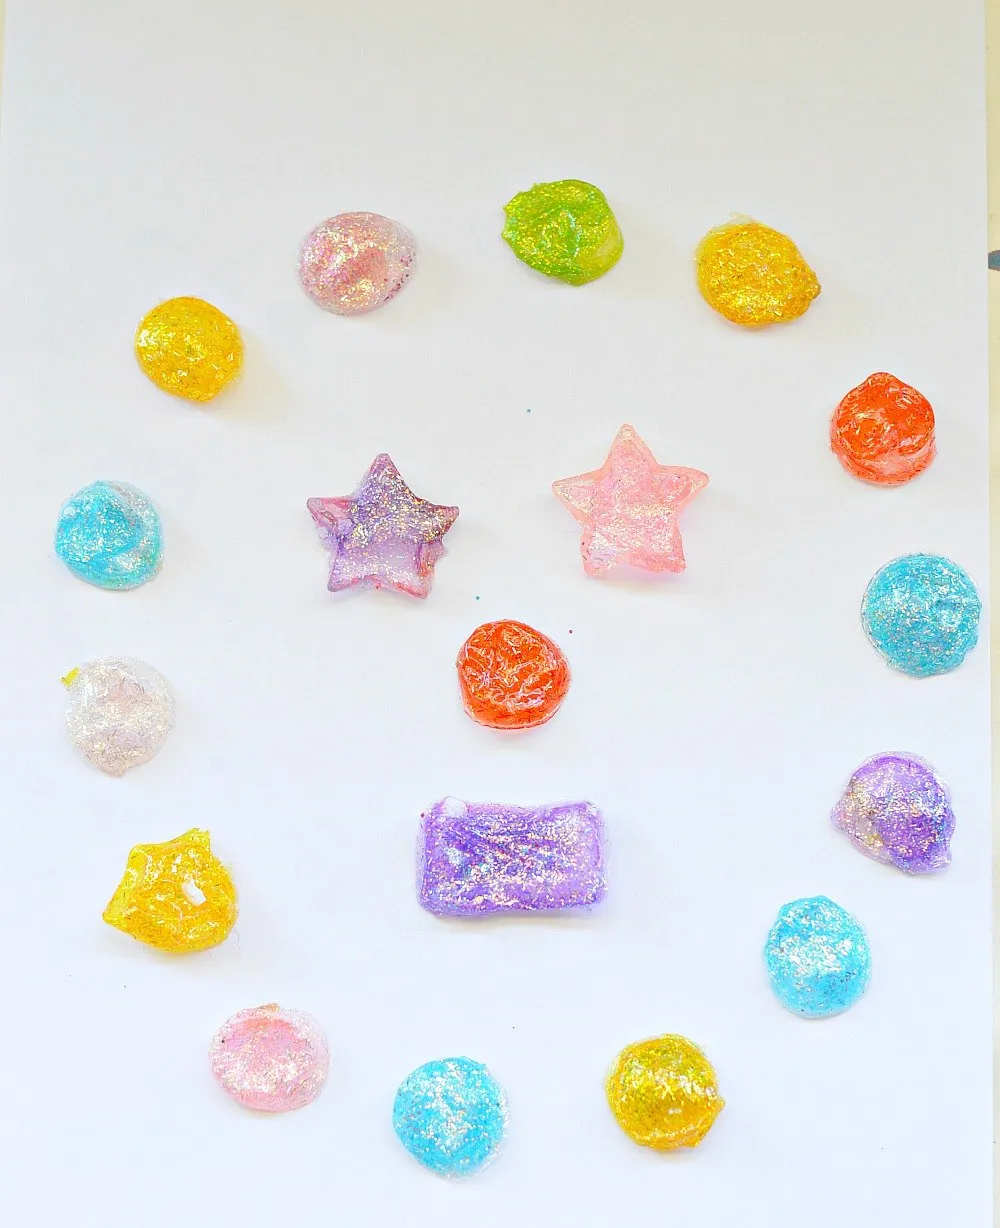
make a face with gems at home

Yes, she had to have a crown.

art ideas with diy treasures

Our kids paired them with wood cookies {upcoming post} and Shopkins for pretend play sessions.
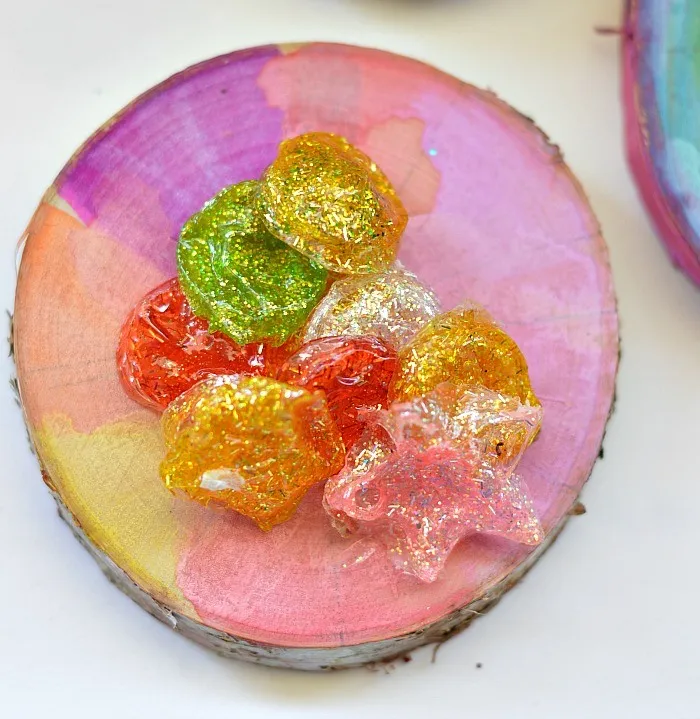
play ideas with gems

Here is the simple process of making your own glue gems and homemade treasures for play and learning

  • Fill up silicone ice cube trays with glitter glue
  • Let them dry for 2 days in the sun
  • By now you should be able to flip the dried glue gems.
  • Turn them over so the bottom part dries
  • Pop them out after 1 more day
  • Trim the edges for a clean cut
  • At the end of 3 days you will have sparkly, shiny glue treasures made with just one ingredient
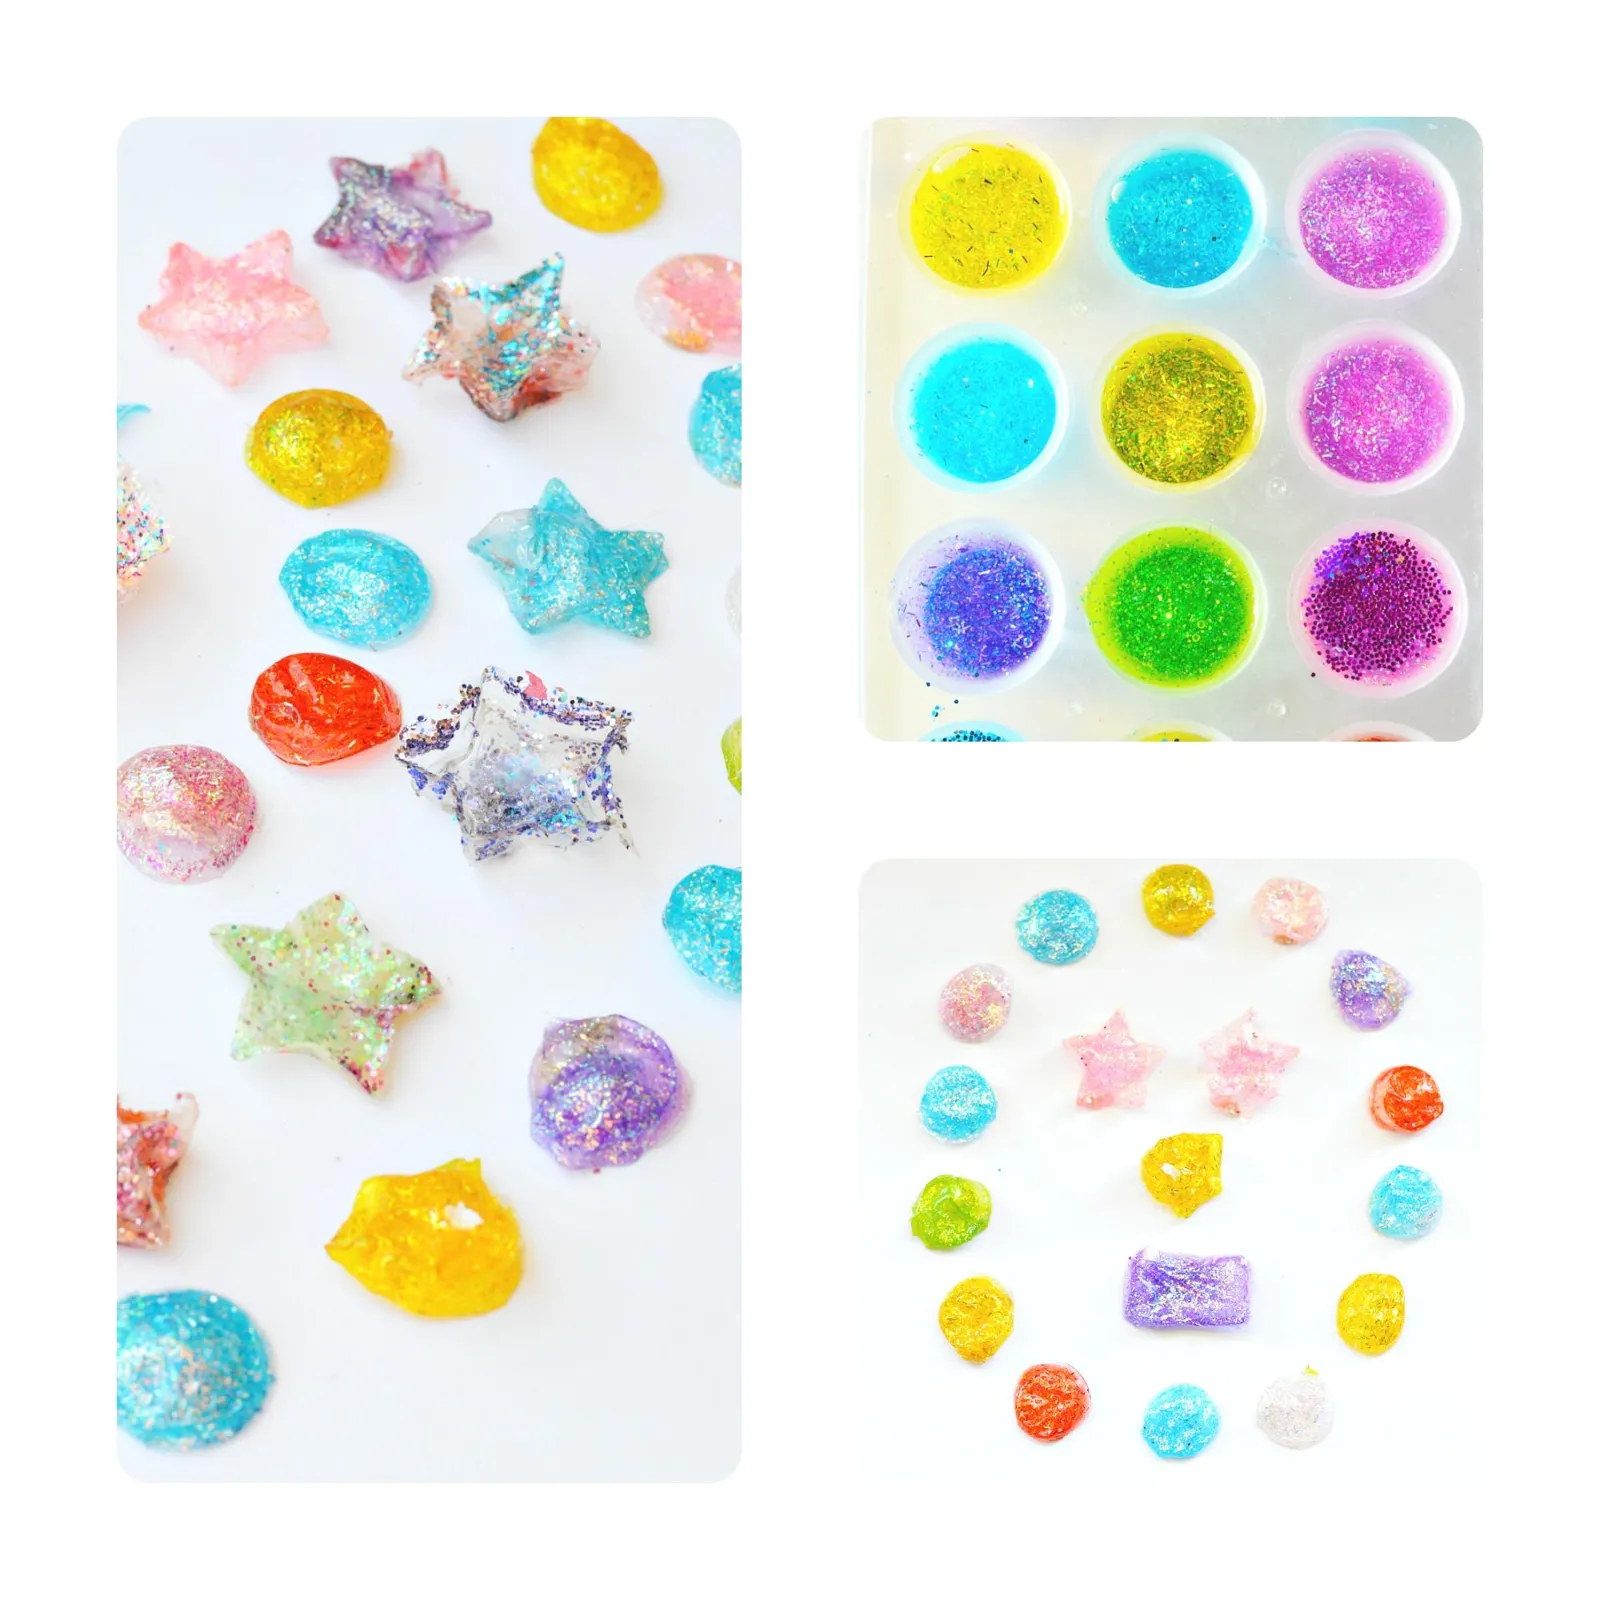
DIY ideas for play

More play recipes here

Treasures for play

Want to check out all supplies options?
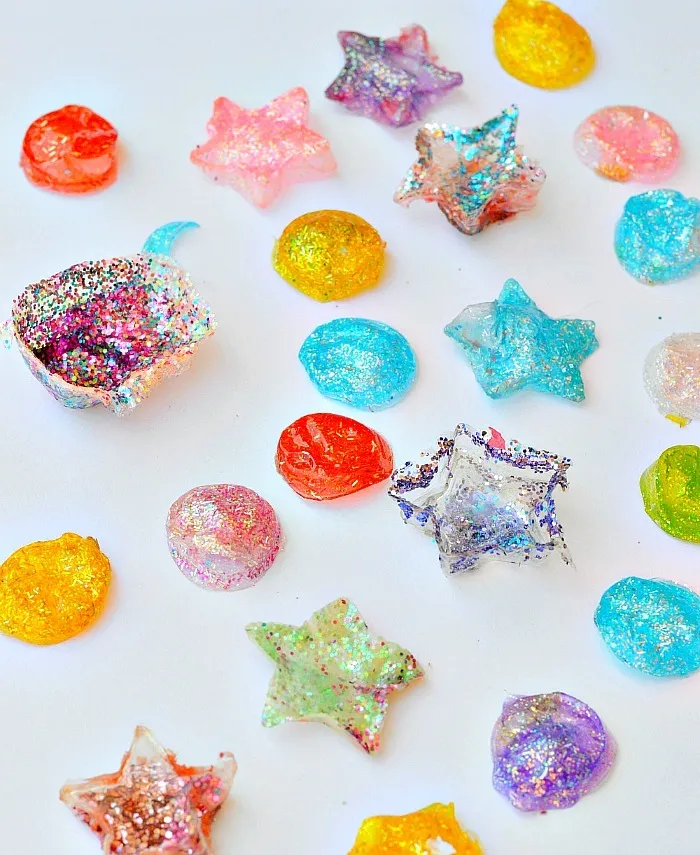
What readers say

No comments yet. Be the first to tell us how it went.

Tried it?

Reviewed before it appears. No links, and please no children's names.

Similar activities

🛒 Materials