Fun Littles

Fun and easy kids activities

Bubble Print Mother's Day Silhouette Card

Apr 26, 20207,034 views
Crafts
Ages3+
Prep20 min
Activity30 min
Leveleasy
MessMedium
Works for1:1 · Small group · Class

Blow colored bubbles in cups and press paper on top to make free-form bubble print art. Once it dries, fold it into a card and add a black mother-and-baby silhouette, either drawn by hand or from the free template.

⚠️ Safety first

  • Straw blowing: only do this with children who reliably blow out. The author says she wouldn't do it with a child who might accidentally suck the bubble water instead of blowing.
  • Give each child their own straw, and supervise the bubble blowing at all times.
  • Bubble solution, tempera paint and food color are not for drinking. Keep cups out of reach of toddlers when no adult is watching.
  • Tempera paint and food color can stain hands, clothes and surfaces. Cover the table.
  • For younger kids, an adult cuts out the silhouette, or kids use child-safe scissors with supervision.

Before the kids arrive

  • Print the free mother and child silhouette template if kids won't be drawing their own.
  • Optionally print the 'Every day is Mother's Day' graphic (landscape or portrait) on cardstock.

Steps

  1. Pour bubble solution into 3-4 small cups and color each one with tempera paint or food color.

  2. Put a straw in a cup and blow (never suck!) until a big bubble rises up and almost flows over the brim.

  3. Gently place your paper on top of the bubbles to make a print.

  4. Keep printing with different colors until your paper is filled.

  5. Let the bubble print paper dry flat.

  6. Draw a mother and baby silhouette freehand, or use the printed template.

  7. Color the silhouette in with a black marker.

  8. Cut out the silhouette and set it aside.

  9. Fold the dry bubble print paper in half vertically to make a card.

  10. Try the silhouette in different spots on the front, then stick it down where you like it best.

Tips

  • Use heavy paper like cardstock or watercolor paper. The bubbles soak it, and you don't want paper that buckles at the edges after it dries.from the author
  • Let kids create freely first. Turning the free-form art into a card afterward means they aren't steered to make a card for mom a certain way.from the author
  • We just left the process art at the print stage at first, but once the paper dried it looked too colorful and gorgeous not to do anything with it.from the author
  • She tried placing the silhouette in different directions and locations, and they all looked beautiful!from the author
  • Print the finished images on card stock paper and write your message on the back.from the author

Make it your own

  • Add text like 'Every day is Mother's Day' for a more finished look, or print the free graphic.
  • Use the bubble print paper as a background for other silhouette art projects.
  • Older kids can try digitizing their hand-drawn silhouette into a vector image, as the author's 9-year-old did.

The story behind it

By TurkeyMom · April 2020
bubble-printing-art.jpg
Our bubble print paper. We made 3-4 colors of bubble solution, blew bubbles in cups with a straw, then gently placed our paper on top to make prints.
1 / 8

Bubble Print Mother's Day Silhouette Card: the original post

Easy Mother’s day card with process art We love homemade cards here! When the kids were younger they enjoyed craft and art projects that has a big element of process over product in it. As they grew up they loved crafts and open ended art projects equally. Today’s art project that was turned into a Mother’s day card is kind of like a throwback so to speak since we did a whole lot of process art first.That’s exactly why this mother’s day homemade card will work for all ages because you can taking a simple free form art project - where the child is free to create and then turning into a card. That gives the child a lot of freedom and is not steered to make a card for mom a certain way. I don’t have pictures of the bubble printing we did. It is actually a very easy art project you can do with the kids. Using a heavy paper like card stock paper or watercolor paper helped us a lot since this activity is going to suck up some water and you want something sturdy to make a card eventually. After the bubble printing paper dried you don’t want to be left with a paper that is buckling at the edges. Materials

Bubble Printing Art Project We made 3-4 colors of bubble solution ( colored with food colors and paint) in small containers. Using a straw, we blew air into the containers and created bubbles inside the cup that would almost flow out. { Please I wouldn’t do this activity with a child that might accidentally suck the bubble water instead of blowing on the water} Once we have a good big bubble bubbling on the brim of our cup, we used our paper to gently place it on the top of the bubble to make a print on the paper. Solo cups, small plastic bowls all work well. We continued this until we filled out paper with a variety of colors.
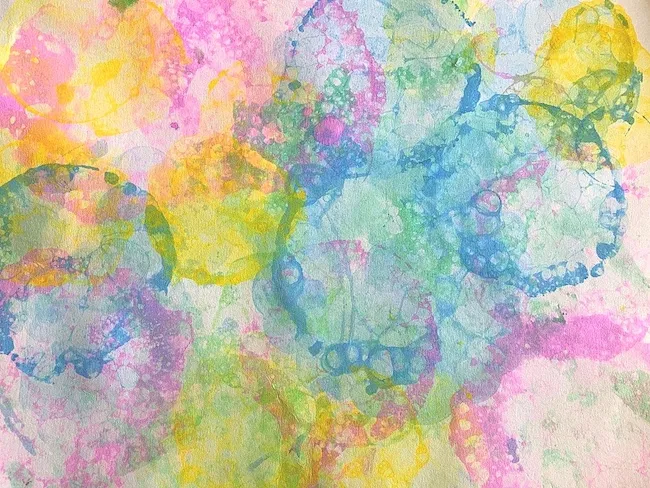
bubble-printing-art.jpg

To be honest we just left the process art at this stage after we made a few prints. However once the paper dried it looked too colorful and gorgeous to not to do anything with it. The bubble print paper definitely looked like a cool background for a fun art project. My 9 year old who really misses going to her art classes every week had a great time freehand drawing a mother and baby silhouette. Once finished she colored in with a black marker.
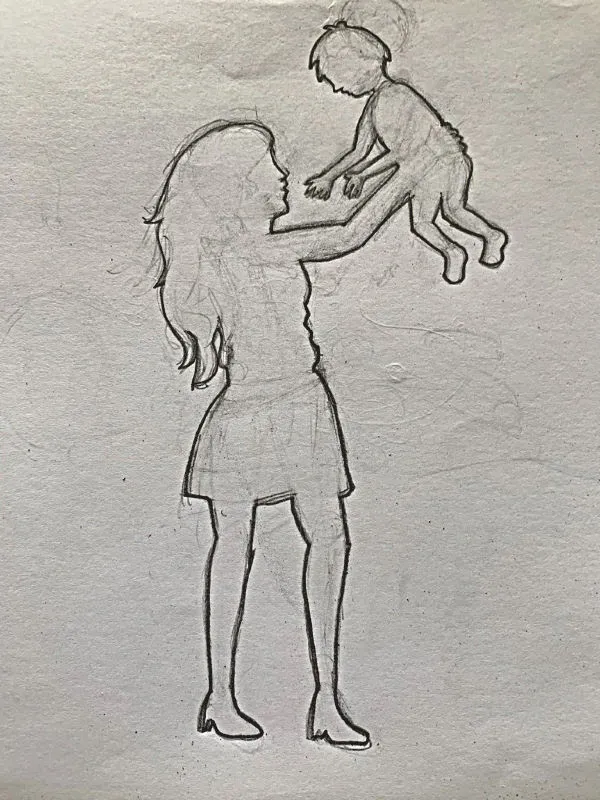
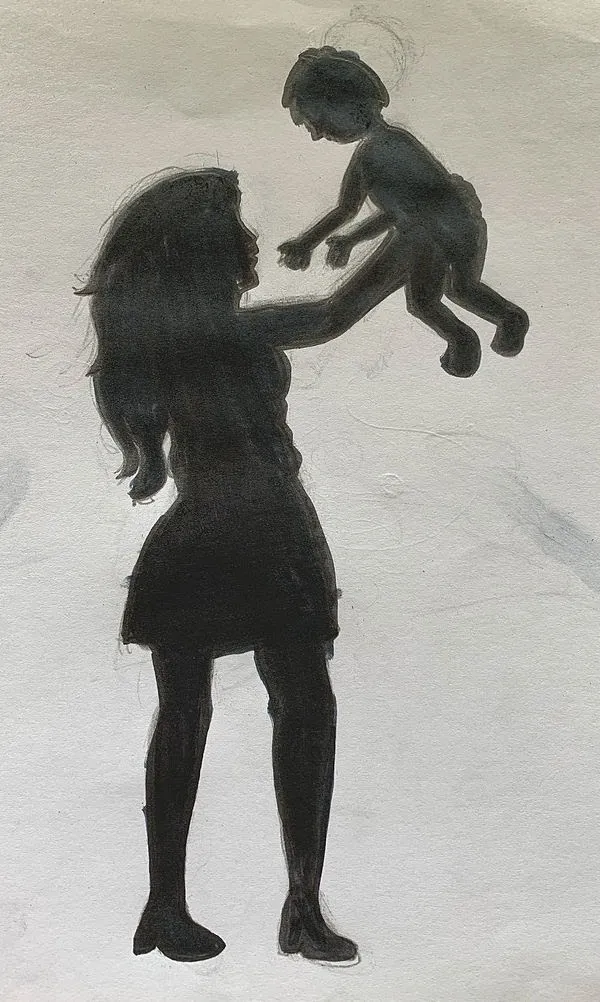
ATTACHMENT DETAILS Image filter outline.jpg

mother-and-baby-outline-for-mothers-day-card.jpg

Then we cut out her silhouette and set it aside. In the meantime we used our bubble print paper and folded into half vertically and made it into a card. We placed the silhouette on top of the folded card and it looked stunning!
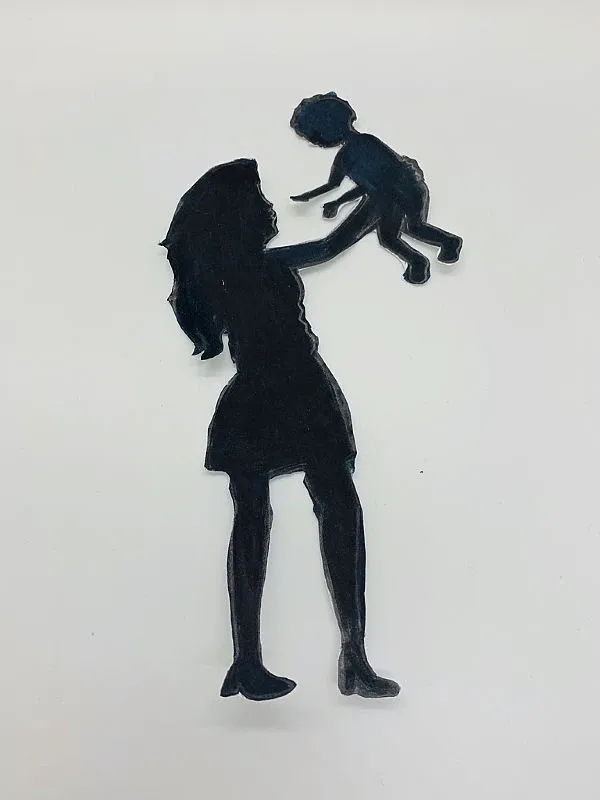
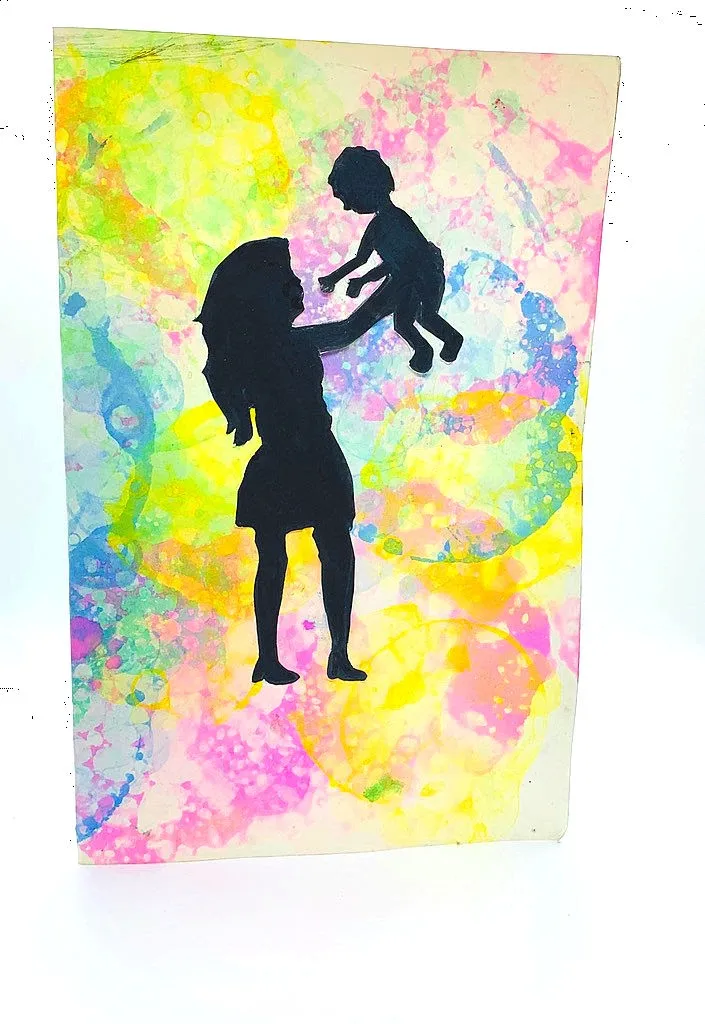
mother-and-baby-silhouette-mothers-day-card-.jpg

homemade-card-mothers-day.jpg

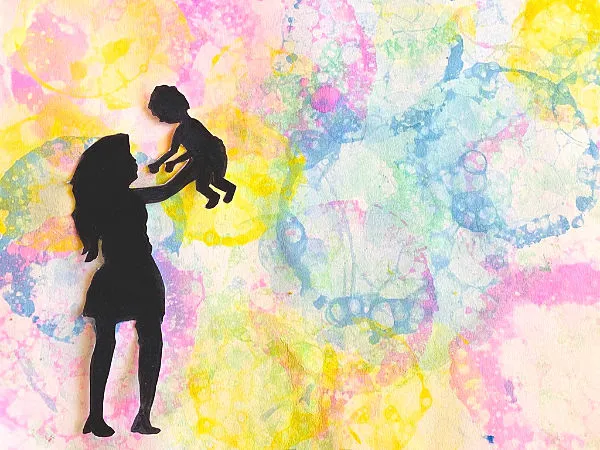
She tried placing the silhouette in different directions and locations and they all looked beautiful! At this point since, since the silhouette turned out pretty good, she attempted to digitize it and was able to create a vector image for the silhouette. Yes it was a very exciting day for her! This is her first attempt at creating a vector ( again hand drawn) { downloadable link at the end of this post}
We ended up adding a couple of pieces of texts on the images to give it a more finished look.
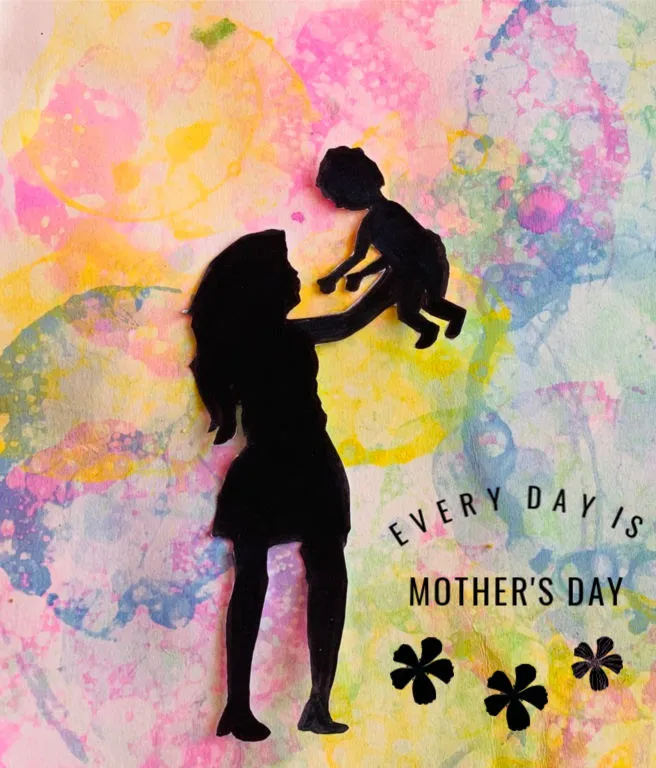
process-art-mothers-day-art.jp

What started as a simple process art project morphed into a card with a silhouette image to go with it.
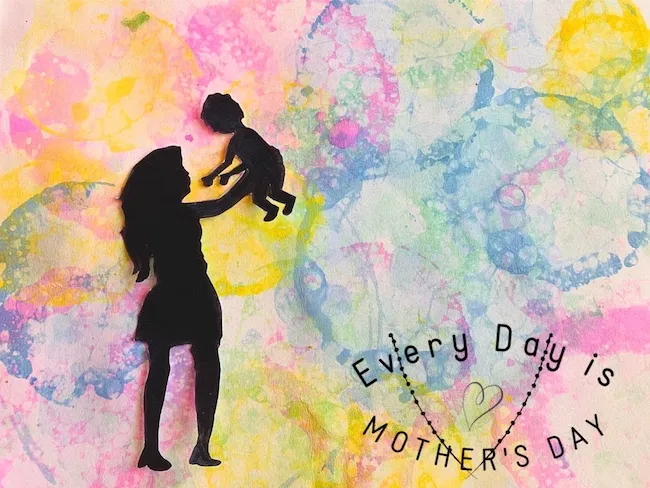
mothers day art idea with process art

If you like the silhouette drawn by this 9 year old ( I think it looks great, but hey! I’m biased :)) feel free to download the pdf file. Cut it out and make your own colorful art project and use the outline to turn your art into a homemade mother’s day card. We have included even the above images as full resolution files for you to download. Print them out on card stock paper and write your message on the back of the paper! Easy! Click here to download the mother and child silhouette Click here to download Every day is mother’s day graphic - landscape Click here to download portrait size

Pin so you don’t forget!
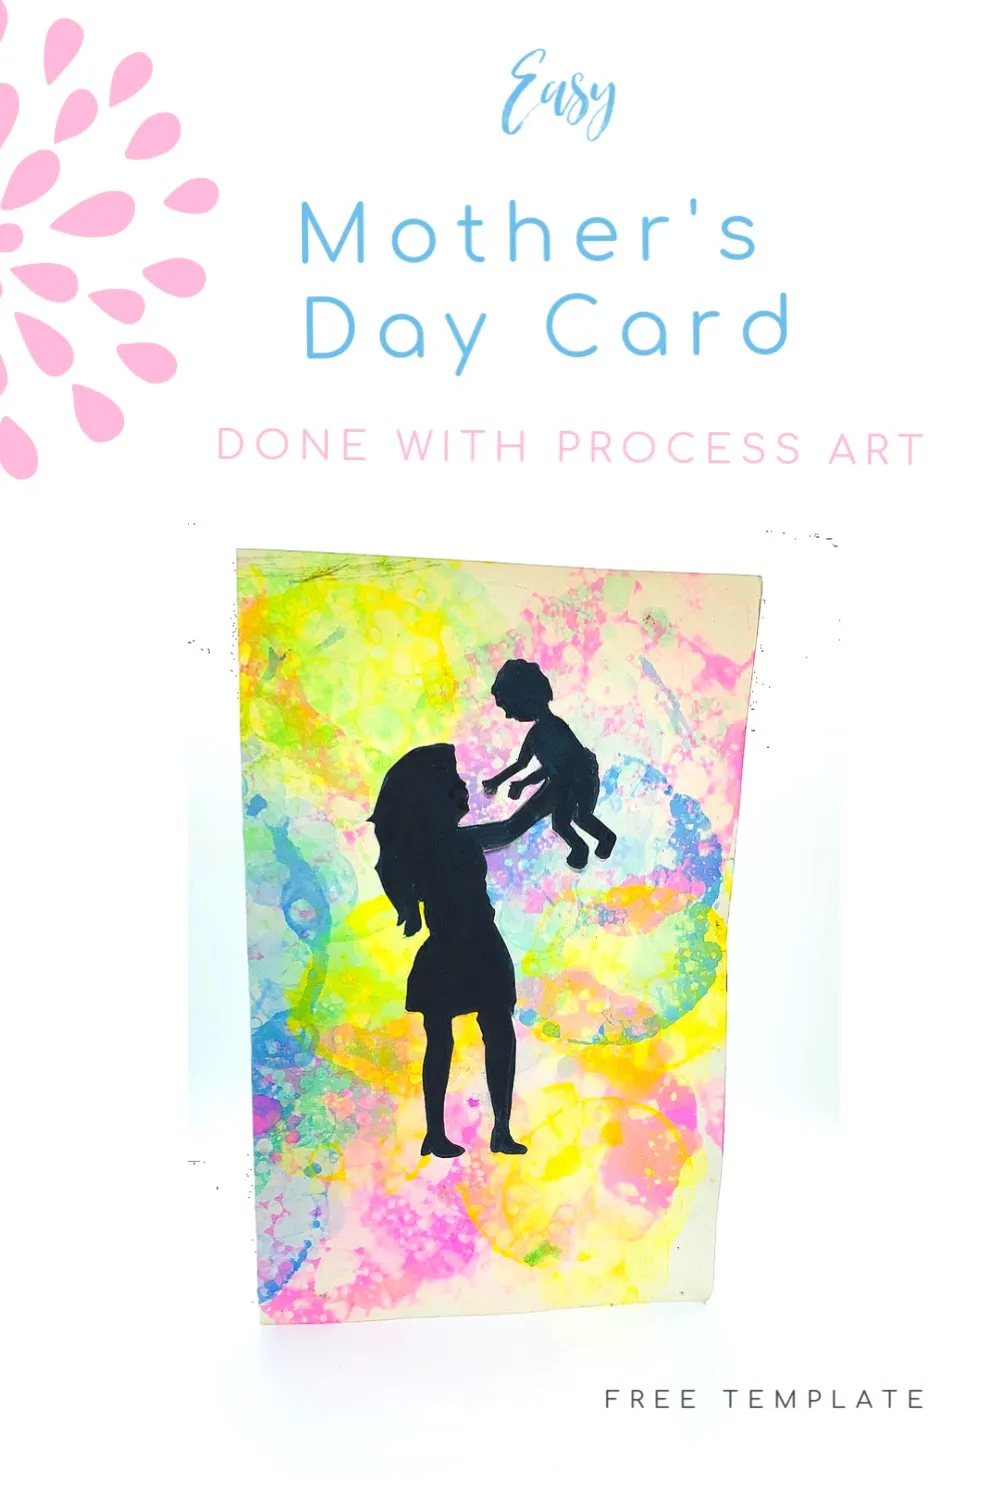
card-idea-with-mom-and-baby-outline.jp

Thanks for reading!

Want more art projects?
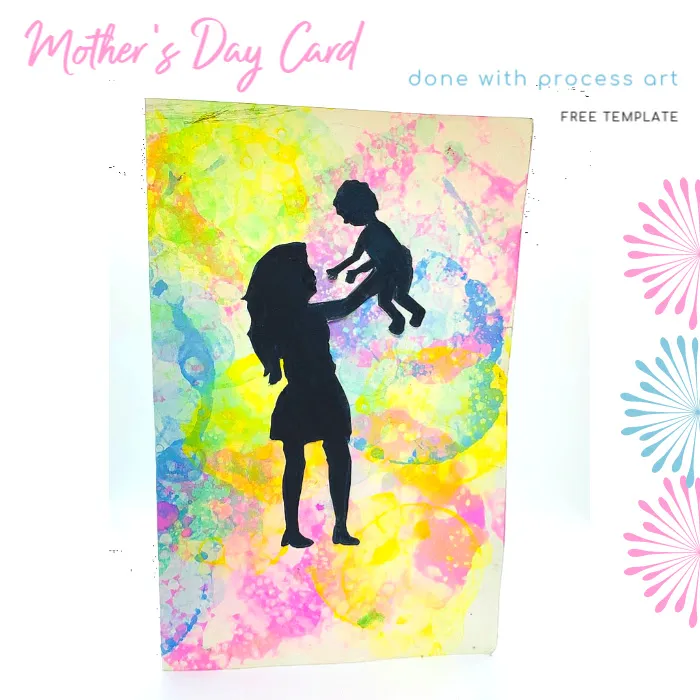
What readers say

No comments yet. Be the first to tell us how it went.

Tried it?

Reviewed before it appears. No links, and please no children's names.

Similar activities

🛒 Materials