- Plaster of Paris
- Styrofoam balls
- Chenille stems/pipe cleaners
- Paint and brushes
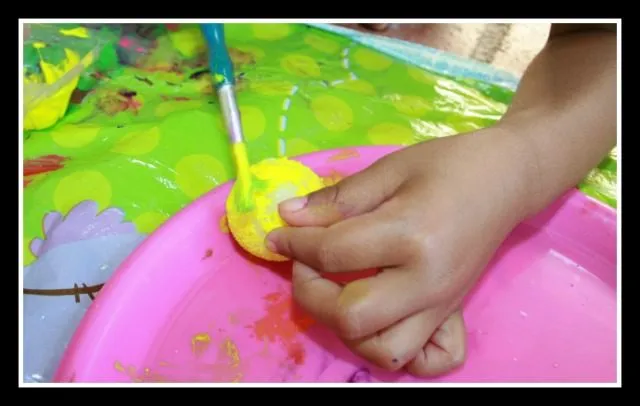
This activity is good for pre schoolers and above. Start off with painting the Styrofoam balls to make the flowers. Big A made a game out of it by challenging herself to paint the whole ball without getting paint on her fingers. She has to hold the ball in her left hand and paint with her right while rotating the ball to get paint evenly all around.Well, I guess she lost steam because she was burnt out from this extra-ordinary fine motor activity for at least 7 balls. Baby A’s goal on the other hand was to get as much paint as humanly possible on her body while getting as little as possible on the ball itself.
Step :1 Paint the balls
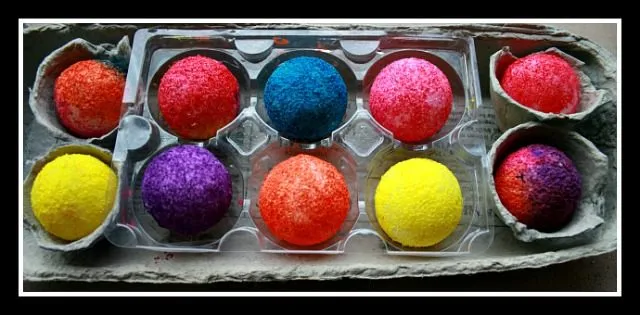
 We set all the balls to dry and wrapped up the project for the day. Definitely not before sneaking in some counting practice with the colored balls.
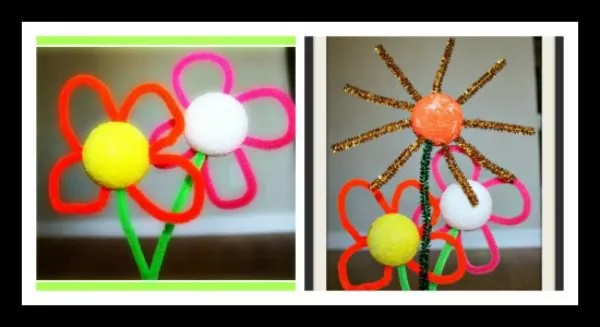
 Next step we made the flowers and a sun using pipe cleaners. Start off with making petals by bending the pipe cleaners and inserting them back into the Styrofoam ball. Note: The sparkly ones may seem cute but they are only mediocre performers as stems. Yeah, the shiny ones are kind of droopy and they don’t stand upright in the plaster. It is better to stick with the regular pipe cleaners for this activity.
Step :2 Make the petals using pipe cleaners
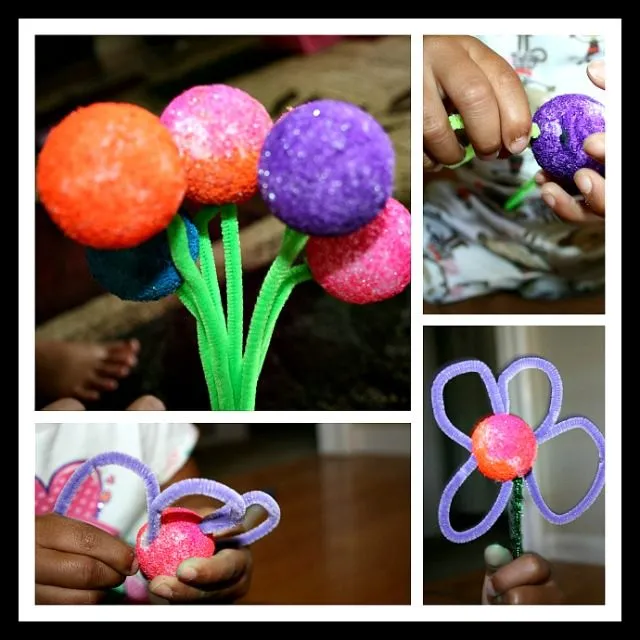
Another day, we did the petals using pipe cleaners. This was supremely tricky for Big A because being the perfectionist that she is, the job gets frustrating if she does not get all the petals to look-alike. She did manage it with some help from mommy.
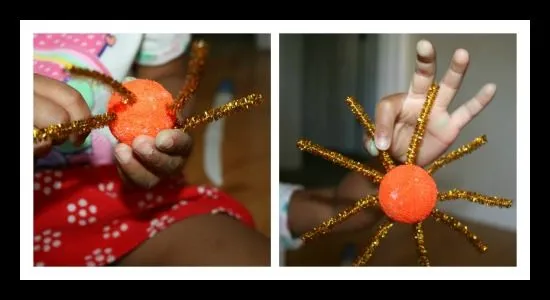 The sun was pretty straightforward. We cut the orange sparkly pipe cleaners into smaller almost equal parts. They went in as the sun rays. Again I sneaked in math while cutting them into equal parts and counting them. Sun with the flowers.
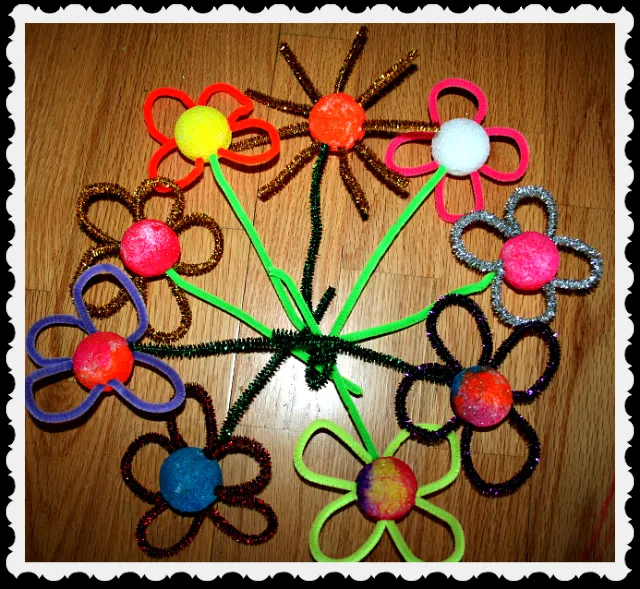
 Here are all the flowers we made. Again, remember we did this activity over a period of 2 weeks.
 The final part of the project was thoroughly enjoyed by both of them, especially the younger one. Watch for the ghostly hand next to the pot.
Step 3: Mix the plaster and pour it into a mold
Step :4 Insert the flowers 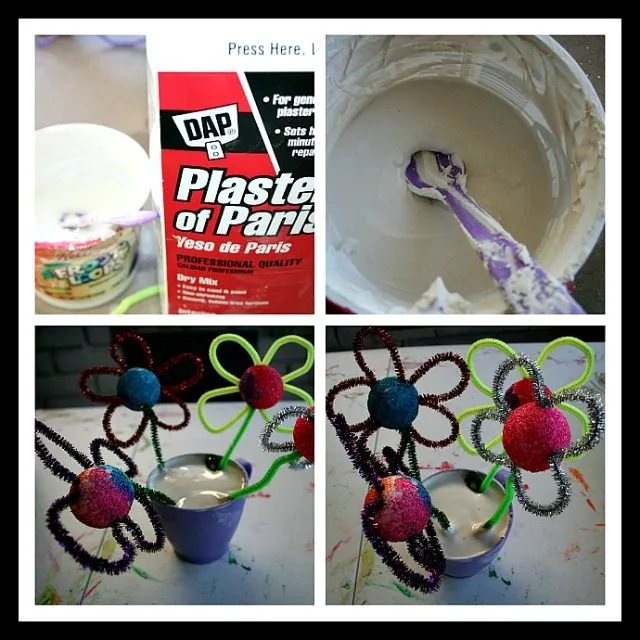 Mixing the plaster was the best part for Big A and baby A. Remember to fill it to the brim to get a good flower pot shape. Do not forget to apply oil/petroleum jelly to the insides of the container you choose. You will be thankful when you are trying to remove the plaster from the mold. Before the plaster hardened, we inserted 4 pipe cleaners. The idea is for the pipe cleaners which are actually stems to set and harden with the plaster. Here you could insert the entire plant (flower with the green pipe cleaner stems) or just the stems and attach the flower later. Be liberal with the oil/jelly. We didn’t get a smooth finish on the pots since the plaster chipped off during the removal process.
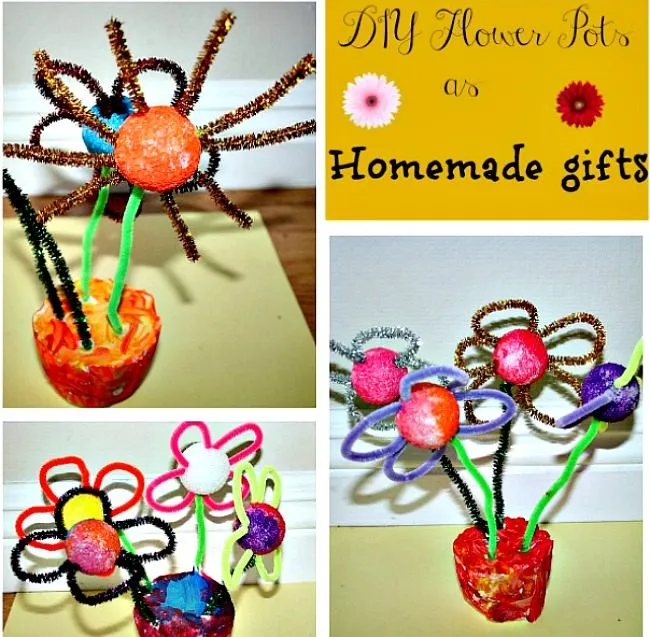
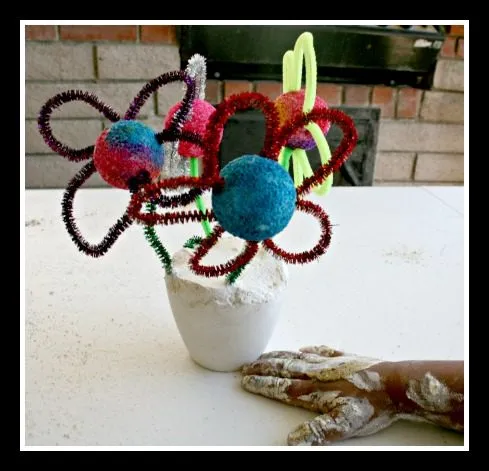 Here you have all our three flower pots ready to go out as gifts.
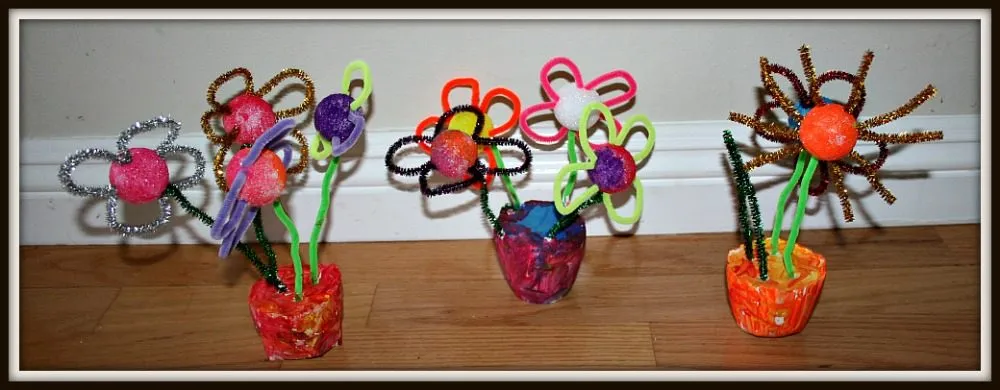
Extensions Attach a small card and put the pots inside a clear treat bag. Now you have your own homemade gift by kids. Based on the theme, you could make a variety of pots.For a soccer themed party, just turn the flower into a soccer ball with dabs of black paint. For a Disney theme, those pipe cleaners would make a perfect Mickey and Minnie ears. My daughter’s favorite, they are perfect as lollipops or the infamous(in my household) Starbucks cake pops!
- Counting
- Measurements
- Concepts- Parts of a plant and a flower.
- Concepts - Plaster takes the shape of the container
- Fine Motor skills
- Learning patience
Thanks for reading.
Happy Sharing!
Please take a moment to comment.
Hello Visitor, Thanks for stopping by our little space here. We encourage you to stick around and take a look at couple of our popular posts.
Read all 2 comments
maggy, red ted art · Oct 2012
These are so cute. Love them. Thanks for sharing on Kids Get Crafty. Maggy
Christy · Oct 2012
How fun! I can't wait to do this with my kids. They will love it. Thanks for linking up to tip-toe thru tuesday. Have a great week.