Fun Littles

Fun and easy kids activities

Sparkly Pumpkins

Sep 24, 201413,423 views
Crafts
Ages3–6 yrs
Prep10 min
Activity25 min
Leveleasy
MessMedium
Works for1:1 · Small group · Class

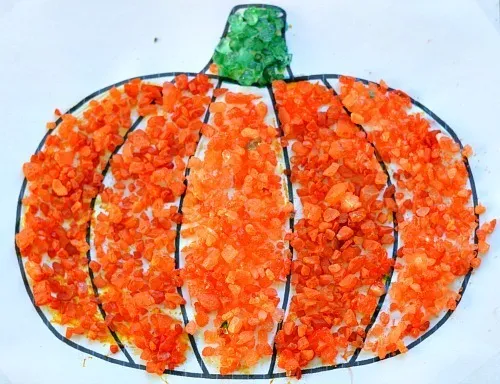
Brush glue inside a printed pumpkin outline and scatter colored ice cream salt over it, section by section, for a shiny, textured fall pumpkin. Let it dry for a day or two before lifting.

⚠️ Safety first

  • Ice cream salt (rock salt) is not food. Small crystals can be a choking hazard, and eating salt is harmful to small children and pets. Supervise closely and keep crystals out of mouths.
  • Salt crystals sting eyes and cuts. Wash hands after the activity.
  • Liquid watercolors and gel food color used to tint the salt can stain hands, clothes and surfaces.

Before the kids arrive

  • Color the ice cream salt orange and green with liquid watercolors or gel food color, and let it dry (see the crystal play dough and homemade rocks and gems posts for the process).
  • Print pumpkin outlines in a few different sizes and tape each one to a cereal box or piece of cardboard.

Steps

  1. Tape your pumpkin outline to a cereal box or cardboard so it can hold the heavy salt.

  2. Put the orange salt and the green salt on separate plates.

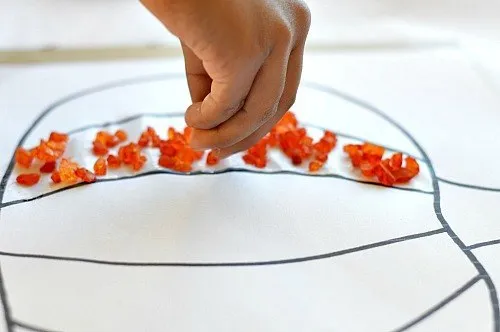
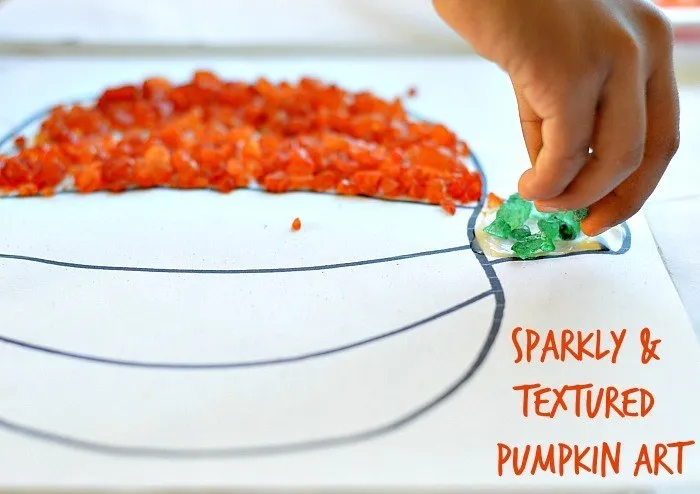
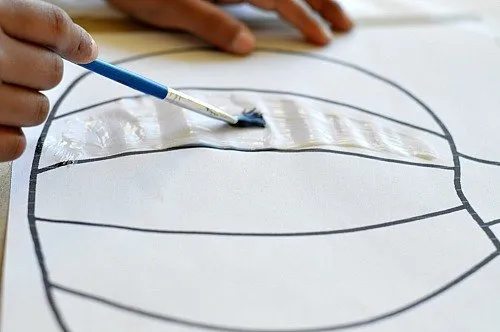
  3. Brush glue inside one section of the pumpkin, trying not to cover the lines.

  4. Quickly scatter orange salt over the wet glue before it dries.

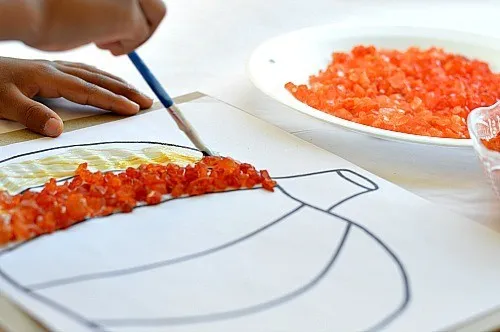
  5. Move on to the next section and repeat, one section at a time.

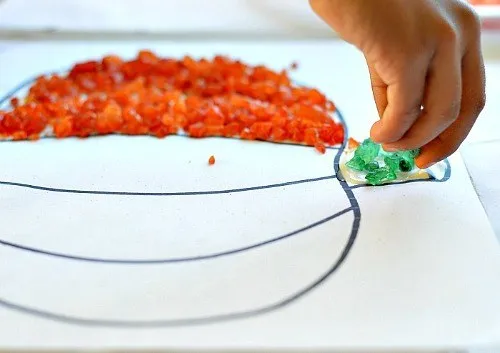
  6. Brush glue in the stem and fill it with green salt.

  7. Leave the pumpkin flat to dry for at least a whole day before lifting it.

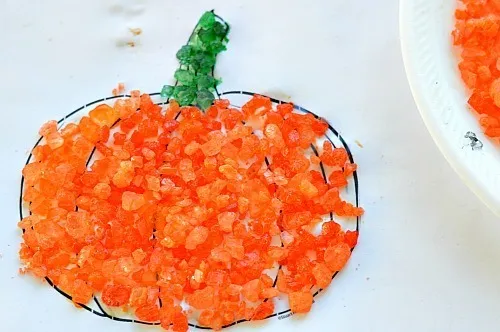
  8. Lift it gently and admire all that texture.

Tips

  • You just need a heavy canvas because the finished pumpkin tends to be super heavy. We taped the paper to a cereal box.from the author
  • Getting the glue and the salt on just the insides of the pumpkin is tricky. We did it section by section for better control.from the author
  • Getting the green stem all filled in was the highlight, since it instantly gave the pumpkin lots of character.from the author
  • Let the pumpkins dry for a whole day before you try to lift them. I let ours dry for 2 days, and only a few salt crystals fell off when I lifted the paper. Most stayed intact and looked gorgeous!from the author

Make it your own

  • Make it a collaborative project: divide the class into groups and have each group make a large shiny pumpkin.
  • Print pumpkins in different sizes.

The story behind it

By TurkeyMom · September 2014
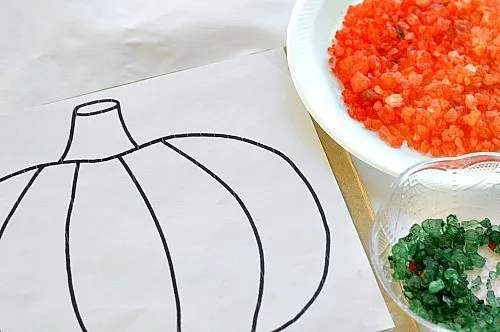
materials for pumpkin craft
I printed out an outline of a couple of pumpkins of different sizes and taped the paper to a cereal box. You need a heavy canvas, since this craft gets super heavy.
1 / 8

Sparkly Pumpkins: the original post

Simple idea for creating shiny pumpkin craft for kids. Materials

I printed out an outline of a couple of pumpkins of different sizes and taped the paper to a cereal box { you can use cardboard too.} You just need a heavy canvas for creating this pumpkin since the pumpkin craft project’s product tends to be super heavy. Those 2 shiny ingredients have already made a couple of appearances on the blog. We have used ice cream salt to make crystal play dough and to make homemade rocks and gems. The links show you the process for coloring them. We love using this brand of Washable Liquid Watercolor Paints and this brand of Ice Cream Salt

materials for pumpkin craft

This pumpkin crafty art project will make a fantastic collaborative project { Divide the class into groups and make large shiny pumpkins}

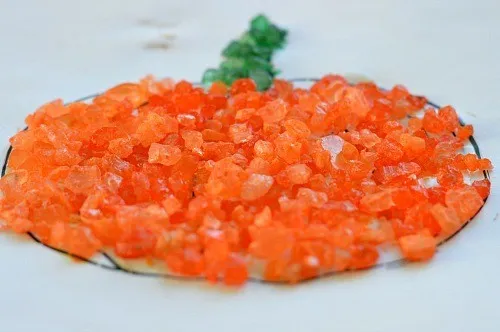
We brushed glue on the inside of the pumpkin and quickly scattered the colored salt before the glue dried up.

gluing down pumpkins for fall craft

The kid took care in not covering the lines of the pumpkin. Getting the glue and eventually the salt on just the insides of the pumpkin was tricky. I think she did a great job with this pumpkin craft.

ice cream salt pumpkin craft

We did section by section for better control of the project.

glue pumpkin craft for kids

Getting the green stem,all filled in was the highlight since that instantly gave the pumpkin lots of character.

fall fine motor craft with pumpkins

Let the pumpkins dry for a whole day before attempting to life it. I let it dry for 2 days and when I proceeded to lift the heavy paper just a few salt crystals fell off. Most of them were still intact and looked gorgeous!

tiny pumpkin craft for kids Gotta love all that texture on that pumpkin.

textured pumpkin fall craft for kids

More pumpkin crafts here

pumpkin craft with ice cream salt

Thanks for reading.

Pumpkin ArtCraft with lots of shine and shimmer. Good for preschoolers

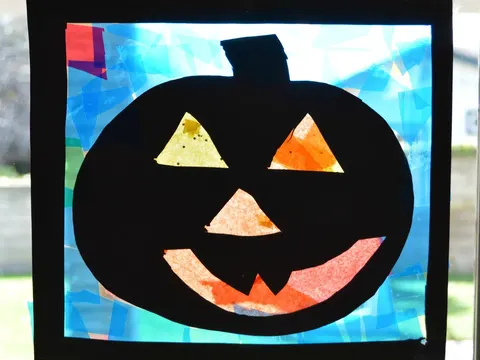
Have you seen our Pumpkin Silhouette Craft?

Pumpkin crafts for kids silhouttes

What readers say

No comments yet. Be the first to tell us how it went.
Tried it?

Reviewed before it appears. No links, and please no children's names.

Similar activities

🛒 Materials