Fun Littles

Fun and easy kids activities

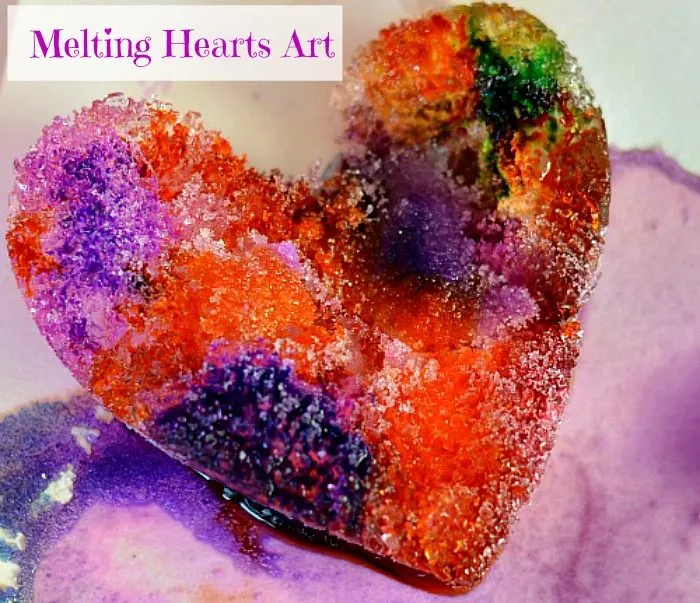
Melting Hearts Art

Feb 5, 201411,466 views
Science
Ages3–8 yrs
Prep10 min
Activity30 min
Leveleasy
MessHigh
Works for1:1 · Small group · Class

Set heart-shaped ice blocks on heavy watercolor paper, sprinkle them with salt, then drip liquid watercolors with pipettes. Kids watch the color travel through the cracks and tunnels as the hearts melt into colorful art. It's science, art and fine-motor practice rolled into one.

⚠️ Safety first

  • Supervise closely. Salt and liquid watercolors are not food, and eating salt in quantity is harmful to young children.
  • Keep salty hands away from eyes and any cuts, and wash hands after play.
  • Liquid watercolors can stain hands, clothes and surfaces.
  • Colored water drips off the paper. Cover the floor and wipe up puddles promptly so no one slips.
  • Salted ice gets very cold. Let kids take breaks from handling it if their hands get uncomfortable.

Before the kids arrive

  • Fill heart cups, heart baking pans or other heart-shaped containers with water and freeze until solid.
  • Optionally freeze water in a tiny snack cup to make an ice mound 'volcano'.

Steps

  1. Cover the floor (or the table and the floor under it) with a vinyl cloth or cheap table cover.

  2. Pop the ice hearts out of the molds and set out salt, liquid watercolors and pipettes.

  3. Place the ice hearts on a sheet of heavy watercolor paper.

  4. Sprinkle salt from the bowl all over the ice hearts.

  5. Watch for the little tunnels and cracks the salt makes as it melts the ice.

  6. Use a pipette to drop liquid watercolor onto the ice and watch the color travel through the cracks.

  7. Watch the hearts melt on the paper into colorful streams.

  8. Move the hearts around the paper so it soaks up all the color.

  9. Squish and handle the soft, salty ice hearts.

  10. Lift off the leftover ice and admire the color-soaked watercolor paper.

Tips

  • It is best to do this on the floor covered with a vinyl cloth or a cheap table cover. On a table, cover your floor, or you'll get small colored puddles dripping off the watercolor paper.from the author
  • Any coarse salt or even Epsom salt should be great, but we just used table salt this time. The results were just as fabulous.from the author
  • Since we are color junkies, we kept moving the hearts all around the paper so it could soak up all the color.from the author
  • Expect it to turn into sensory play. The ice hearts got so squishy that it was plain fun to handle them.from the author
  • Look closely as it melts. The hearts soon look like a tiny crystal garden, with gorgeous little spikes.from the author
  • A chance happening: the center of one heart melted away faster than the edges, leaving a beautiful 'heart jewel'.from the author
  • Don't toss the paper! It soaks up all the color and makes lovely watercolor art on its own.from the author

Make it your own

  • Freeze water in a tiny snack cup and turn it upside down for a pretend ice 'volcano' and some imaginative play.
  • For grade schoolers, make it a true science experiment: have kids observe and identify changes and hypothesize about what's really going on.
  • Try coarse salt or Epsom salt instead of table salt.

The story behind it

By TurkeyMom · February 2014
materials needed formelting heart art
For this science experiment, I froze water in one of my heart cups. You can use heart shaped cookie pans or any heart shaped container you have on hand.
1 / 10

Melting Hearts Art: the original post

Science should be fun and enticing, correct? Yes, fewer kids would have trouble enjoying science at college.. This melting hearts art is a colorful, vibrant, art activity and a fine motor activity rolled into one is actually one of the most popular science experiments for kids. With a few simple materials you can set up this gorgeous artsy science activity. Materials

For this science experiment, I froze water in one of my heart cups, you can use heart shaped cookie pans or any heart shaped container you have on hand.
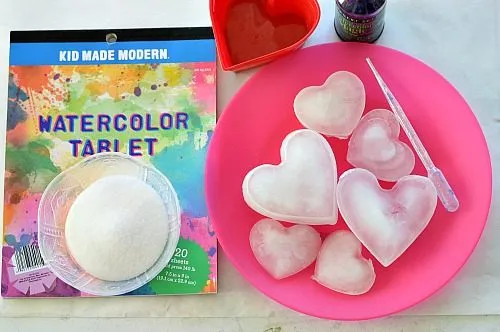
materials needed formelting heart art

We placed the ice hearts on heavy water color paper and I let the kids loose with a bowl full of salt. Any coarse salt or even Epsom salt should be great but we just used table alt this time. The results were just as fabulous.
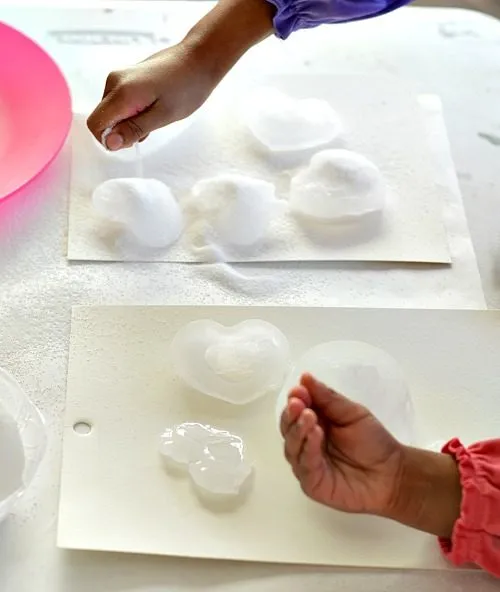
adding salt to ice

Once the salt starts melting the ice, you can see the ice tunnels and cracks forming. Make those tunnels more beautiful by adding our favorite liquid watercolors. Using pipettes the children dropped ( sometimes squirted) water color on the ice and they were excited to see the color travel through the cracks in the ice.
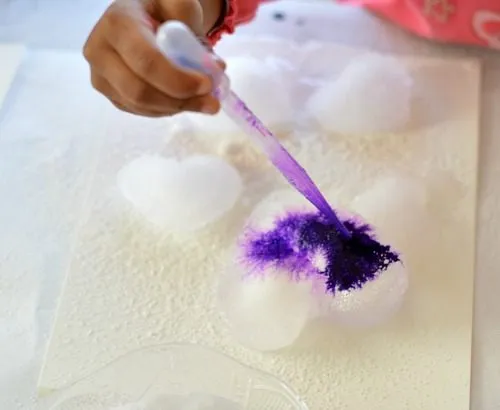
adding water colors to this valentines day activity

We even made a little mound ice with a tiny snack cup. Turn it upside down you got yourself a pretend “volcano” in this case. I just love it when the children engage in imaginative play.
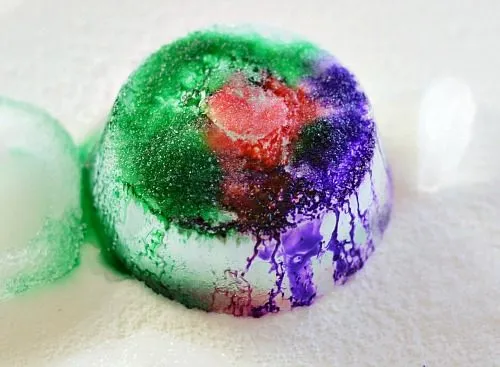
ice cracks with colors

The little hearts were made from the same baking pan we used for our “Fake chocolate sensory play”
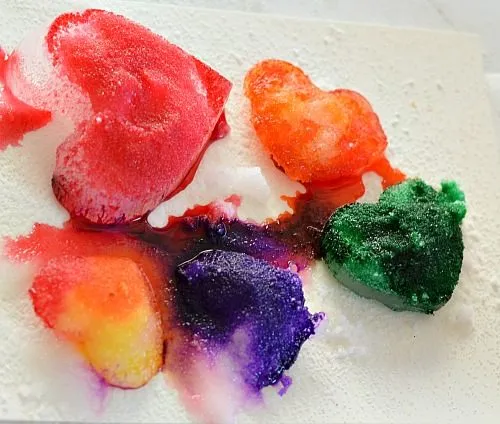
melting hearts in salt ice and and watercolor experiment

The hearts start to melt on the paper creating a colorful stream. It is possible that this science experiment will turn into sensory play since the ice hearts became so squishy and it was plain fun to handle them.
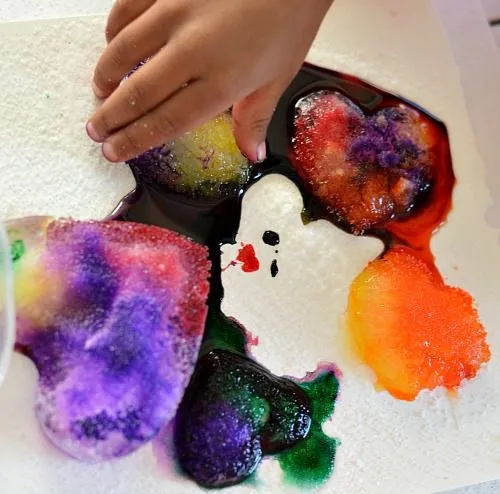
sensory play with salt ice

This is supposed to be a “moss covered” ice.
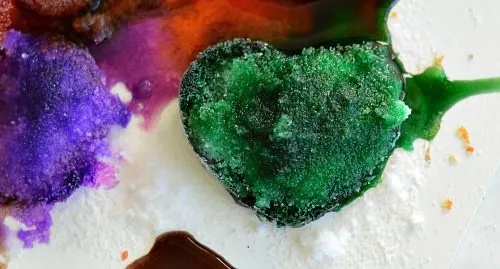
crunch salt ice heart

The ice hearts soon start to look like a tiny crystal garden.
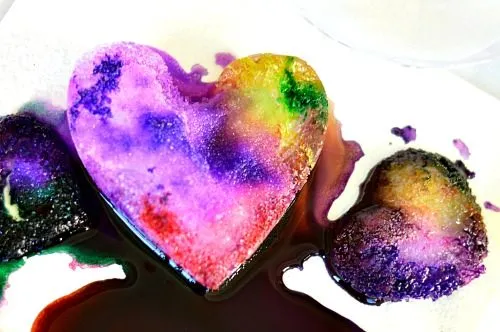
ice heart experiment

Since we are color junkies, we kept moving the hearts all around the paper so that the paper can soak up all the color.
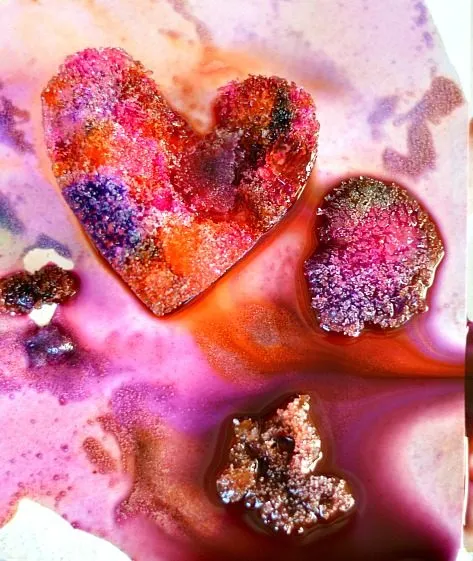
melting hearts with colors bleeding

Can you see those spikes on the hearts? They are so gorgeous. For grade schoolers, this activity can be a true science experiment where th children observe and identify changes while hypothesizing about what’s really going on.
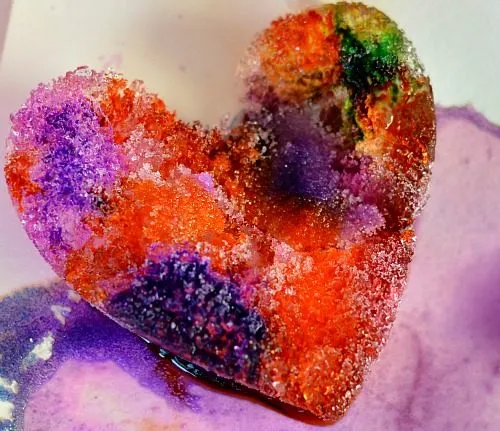
beautful crystal heart

This was a chance happening. The center of the heart melted away faster than the edges leaving a beautiful “heart jewel”
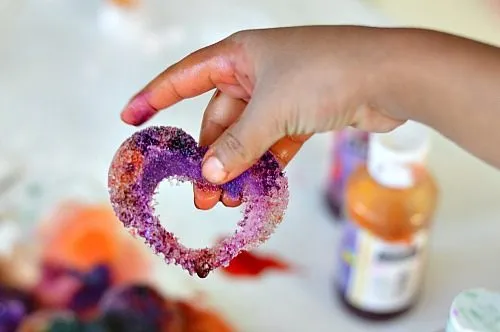
ice jewel

This is our reality shot - our art table.
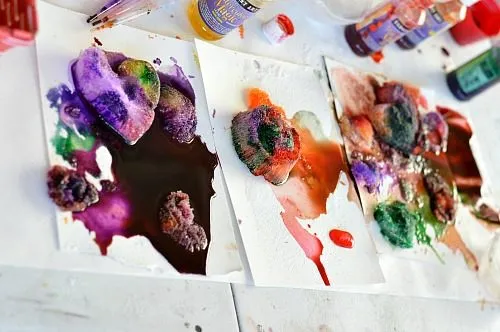
reality shot

Notes:

It is best to do this science experiment on the floor covered with a vinyl cloth or a cheap table cover. If you want to do this on a table, cover your floor or else you will have small colored water puddle dripping from the watercolor paper.

So do you want to see the watercolor paper which soaked up all the color?
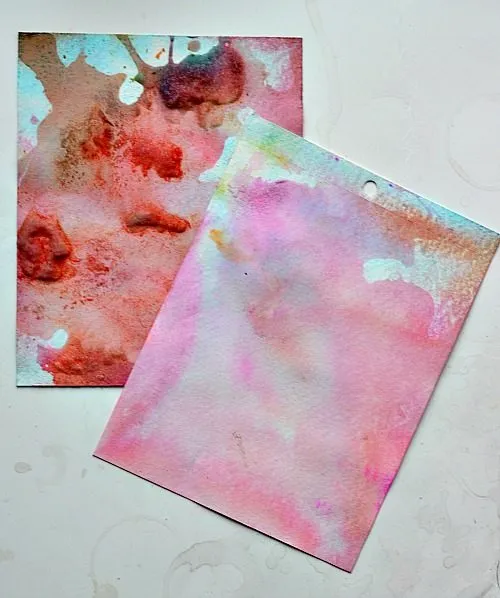
water color art

More science experiments on our category page

Thanks for reading!

Feel free to pin this
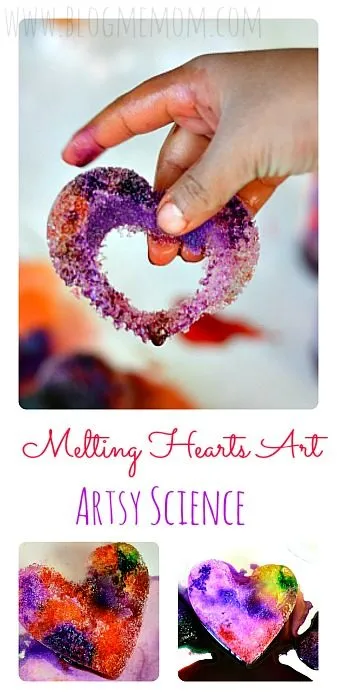
Melting Hearts Art - Artsy Science

What readers say

No comments yet. Be the first to tell us how it went.

Tried it?

Reviewed before it appears. No links, and please no children's names.

Similar activities

🛒 Materials