Fun Littles

Fun and easy kids activities

Spider Medallions

Sep 28, 20163,719 views
Crafts
Ages4+
Prep30 min
Activity45 min
Levelmedium
MessMedium
Works for1:1 · Small group · Class

Press homemade cornstarch clay into a spider ice cube tray to emboss 3D spiders, then let them dry and paint them. Thread them on ribbon for Halloween necklaces and bracelets that make a fun non-candy treat.

⚠️ Safety first

  • An adult cooks the clay on the stove. Let it cool until it is comfortable to touch before kids knead it.
  • The clay and acrylic paints are craft materials, not food. Don't let kids eat or mouth them.
  • The finished medallions, plastic spiders and skull rings are small parts and a choking hazard for children under 3 or kids who still mouth things.
  • Necklaces on cords need supervision. Take them off before sleep and before climbing or playing on equipment.
  • Acrylic paint can stain clothes once dry. Cover clothes and the table, and wash hands after painting.

Before the kids arrive

  • Make the cornstarch clay (adult, stovetop) and let it cool before kids handle it.
  • For a large group, get extra spider ice cube trays and make more clay.
  • Plan two sessions: pressing the medallions, then painting once the clay has dried for a few hours.

Steps

  1. Adult: mix 1 cup cornstarch, 2 cups baking soda and 1 1/4 to 1 1/2 cups water in a saucepan.

  2. Adult: cook over medium heat until it looks like mashed potatoes, then take it off the heat and let it cool.

  3. Knead the clay. For colored clay, split it into balls, squirt about 2 drops of pastel acrylic paint into each ball and knead until the color is even.

  4. Press small balls of clay gently into the spider shapes in the ice cube tray. Use just enough pressure to get the imprint.

  5. Gently flip the clay out of the tray to find the embossed spiders.

  6. Poke a small hole near the top of each medallion with a straw.

  7. Let the medallions dry for a few hours until they are firm to the touch.

  8. Paint the spiders black with a small brush. On white medallions, paint the background a metallic color.

  9. Once the paint is dry, string ribbon, yarn or twine through the hole to make a necklace or bracelet.

Tips

  • Too much pressure makes the clay hard to take out. Use just enough so the clay gets that spider imprint.from the author
  • I definitely prefer the embossed effect from the ice cube tray over the flat printed effect from a plastic spider. Doesn't the 3D effect make the clay look even better?from the author
  • The colorful spiders came out great, and the kids preferred them to the white ones. They still wanted the spiders themselves black, so we painted just the spiders and left the background colorful.from the author
  • The painting involves a lot of detail, so choose smaller brushes and the kids can do their best coloring just the spiders.from the author
  • The cornstarch clay cracked a wee bit. Air dry clay might not do that.from the author
  • I was able to make about 20-25 spiders, including one big one, with 1 cup of cornstarch. For a large group, get a few more ice cube trays and make more clay.from the author

Make it your own

  • Press a plastic spider straight into the clay for a big, flat-printed medallion.
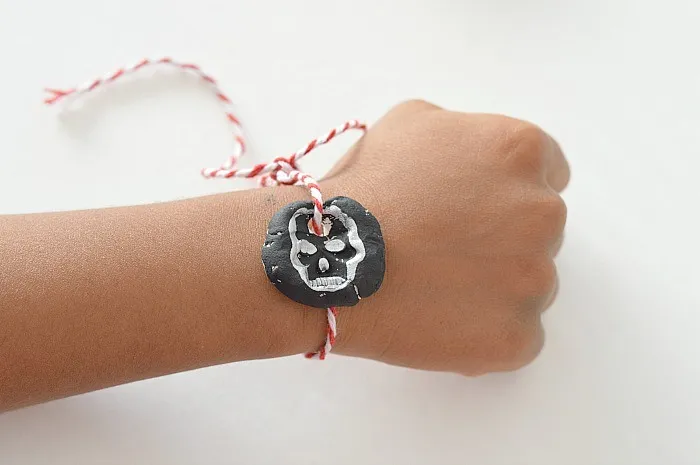
  • Print with plastic skull rings and make bracelets, perfect for trick or treating.
  • Add glow-in-the-dark paint to the clay for glowing medallions.
  • Paint white medallions with shimmery metallic paint and black spiders instead of using colored clay.
  • Pass the medallions out as non-candy Halloween treasures.

The story behind it

By TurkeyMom · September 2016
diy-play-clay-halloween-activity
Mix 1 cup cornstarch, 2 cups baking soda and 1 1/4 to 1 1/2 cups of water, cook over medium heat until you reach a mashed potato consistency, then knead.
1 / 10

Spider Medallions: the original post

Are you one of the parents hoping that your child receives pencils, stickers and tattoos instead of junky candy on their annual Halloween trick or treating? I certainly am one. I’m all for letting the kids have fun with their candy hunting mission on Oct 31st but a few non-candy Halloween treasures don’t hurt either. Everything in moderation right? If you want your child to receive few candies and few non-candy treasures, how about YOU as a family make it a mission to pass out some non-candy Halloween treasures as well? TA DA! Introducing these cute little spider medallions and other Halloween themed jewelry. How to have fun with this spider craft ? Make medallions! Materials

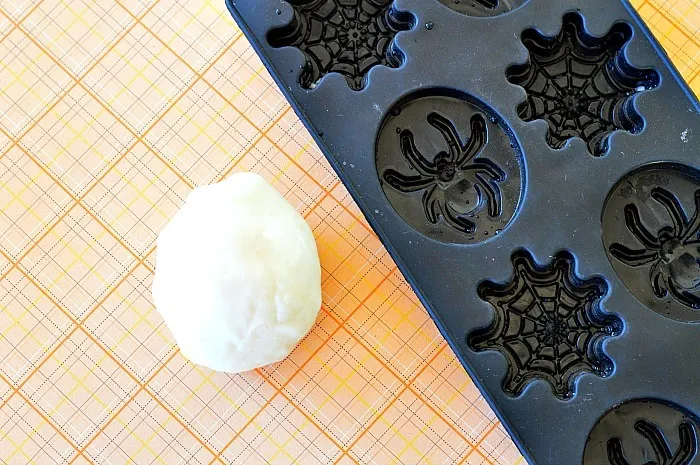
The recipe for cornstarch clay is in our cornstarch clay play post. If you need additional details head on over there. However here is the short version of the play clay recipe. Mix

  • 1 cup cornstarch
  • 2 cups baking soda
  • 1 1/4 – 1 1/2 cups of water

Cook them over medium heat until you reach a mashed potato consistency. Remove from heat and knead. If you want a much smoother texture and don’t want to be bothered by making the clay, go ahead and purchase Air Dry Clay and continue the same process.

More Halloween Crafts here If you are planning on making spider crafts for a large group, I suggest you purchase few more of these ice cube trays and make a larger quantity of the clay. I was able to make about 20-25 spiders {including one big one} with 1 cup of cornstarch
diy-play-clay-halloween-activity

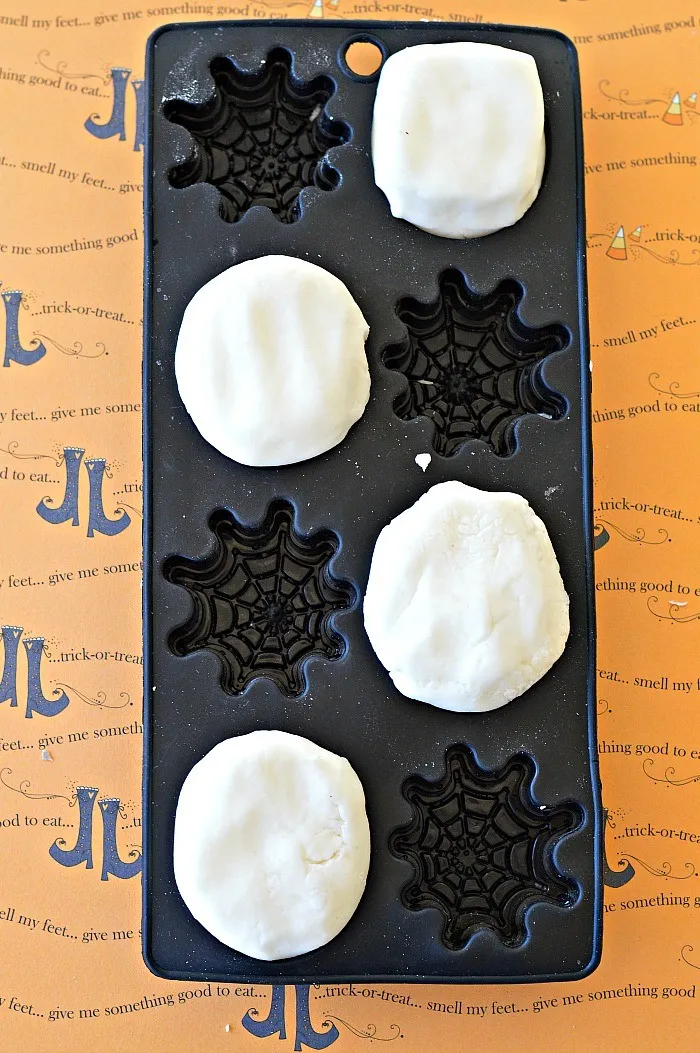
Separate your clay into multiple balls and start gently pressing them into the ice cube tray. Too much pressure makes the clay hard to take out. Just enough pressure so the clay can get that spider imprint.
halloween-clay-jewelry

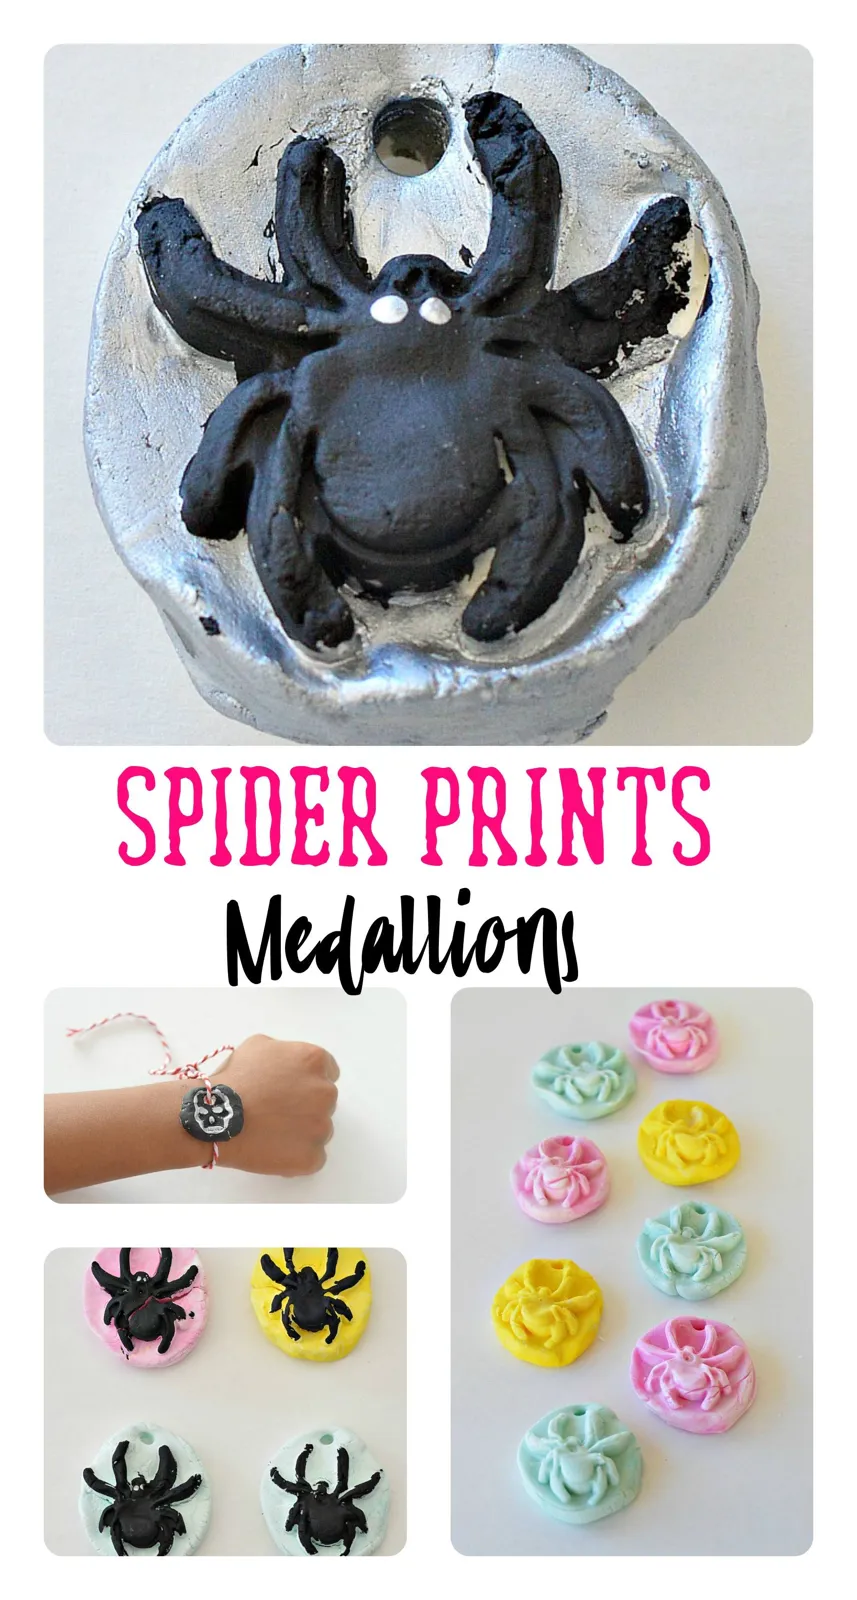
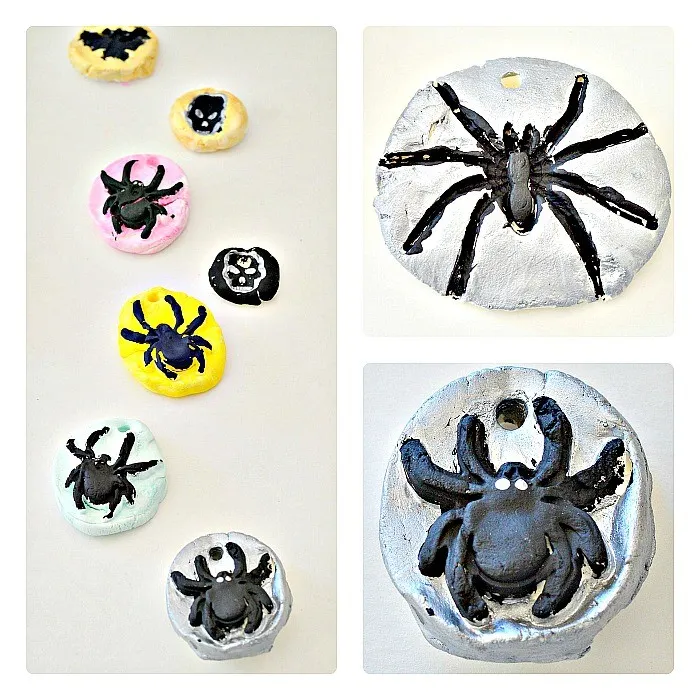
Gently flip the clay balls over and find the spiders printed on them. I definitely prefer the embossed effect over the actual printing effect which you will see further below. Doesn’t the 3D effect makes the clay look even better? Let the clay dry for a few hours and once they are firm to touch start painting them. After this step it is all about coloring them. You could go about painting the background one color and the spiders another or scroll down and see how the spider craft looks if we use colored clay.
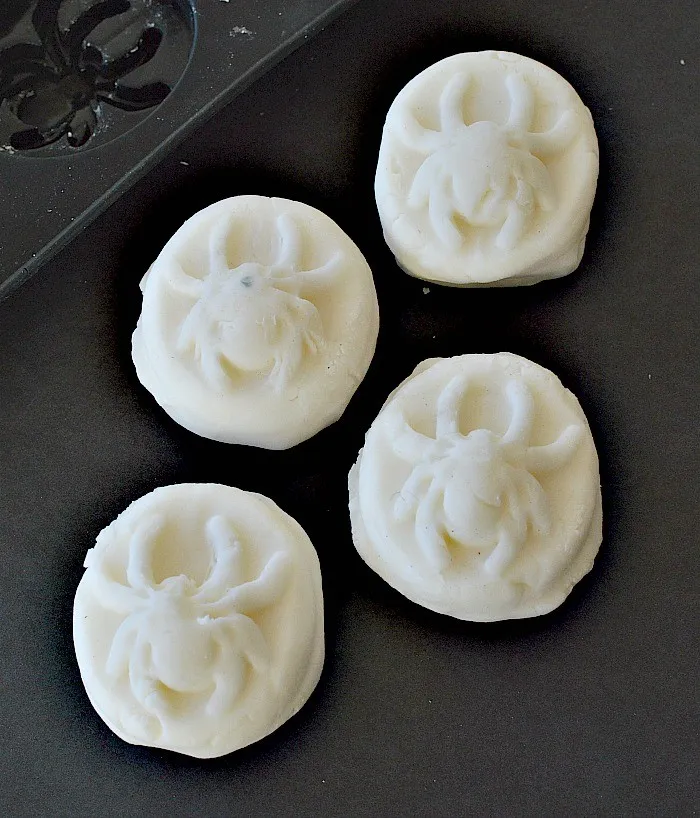
spider-prints-on-clay

Spider Medallions using colored clay We made the regular cornstarch clay and separated them into balls. Then I squired 2 drops of pastel colored satin acrylic paint into them and incorporated the color evenly through out the clay. I got my paints at Target but I found a similar Satin Acrylic Paint online
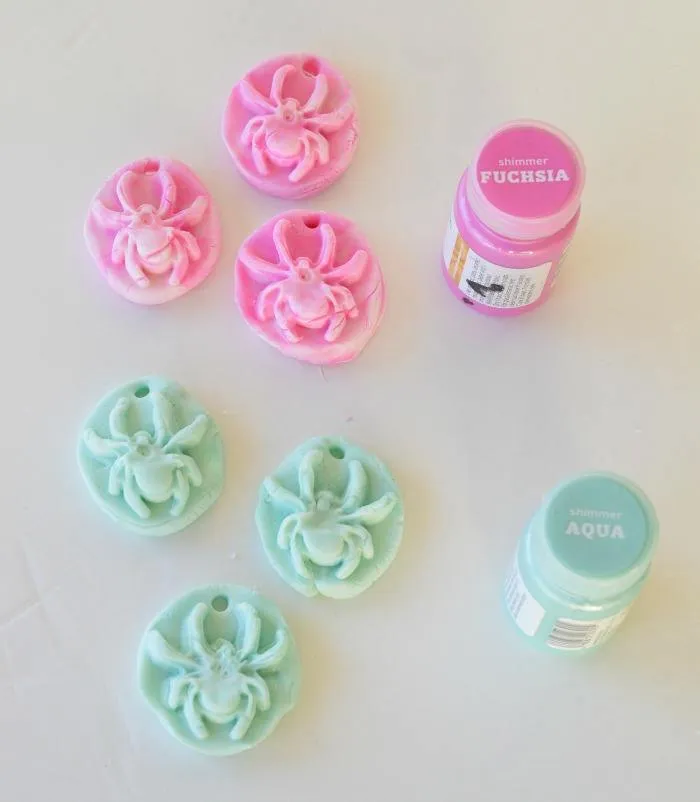
halloween-craft-for-kids-with-clay-spiders

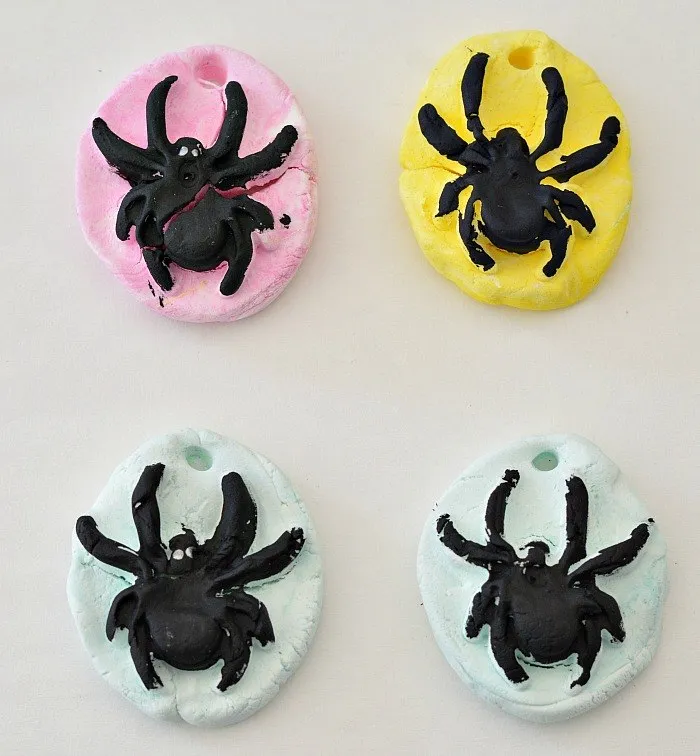
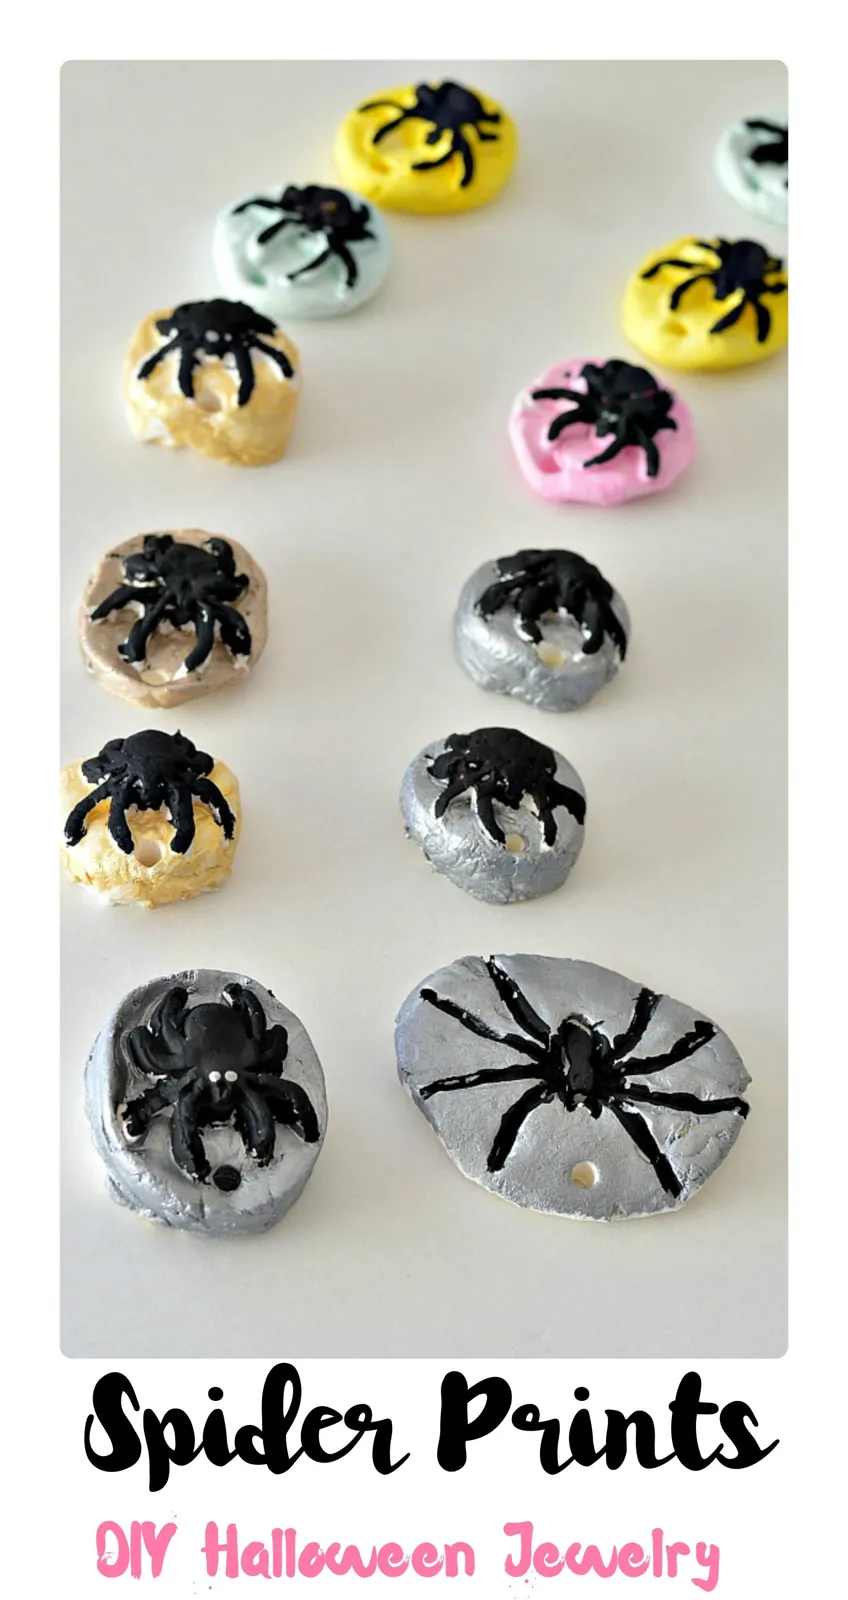
We used pink, yellow and aqua and created these happy little colorful spiders. Remember to make small holes with a straw so you can string them and make medallions.
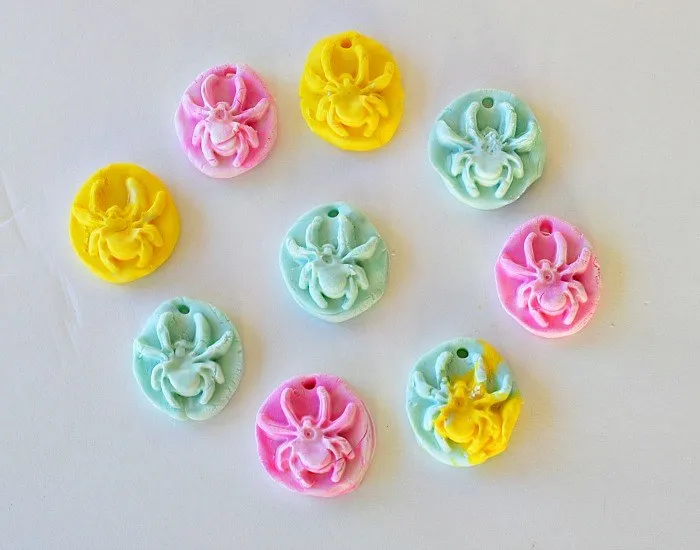
spider-crafts-for-halloween

These colorful spiders came out great and the kids preferred them to the white ones.
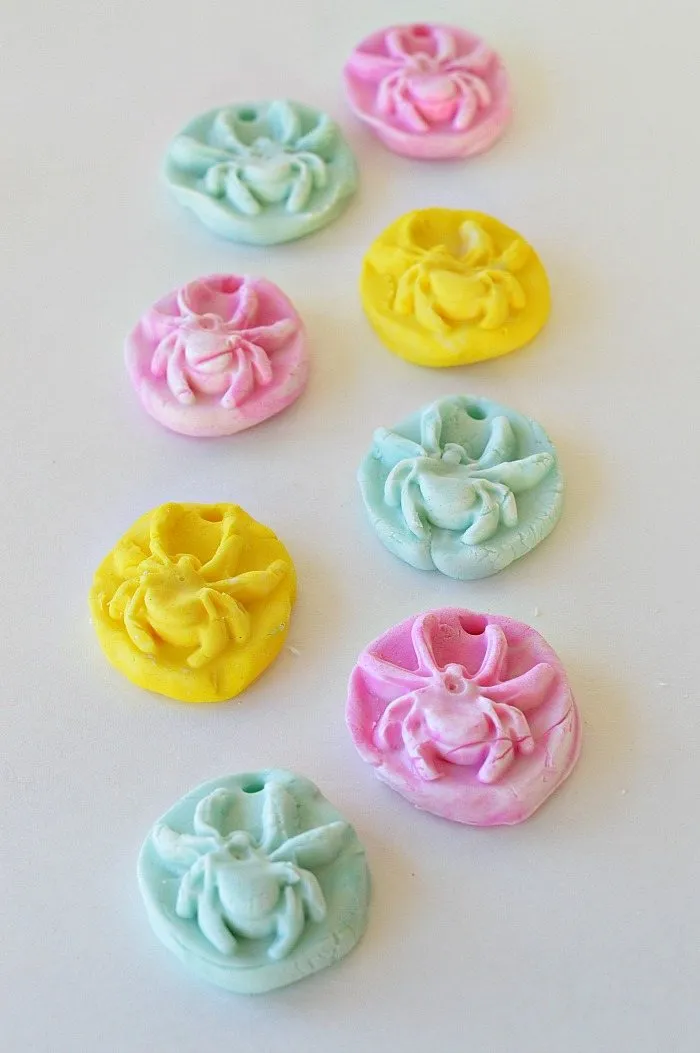
colorful-spider-crafts-for-halloween

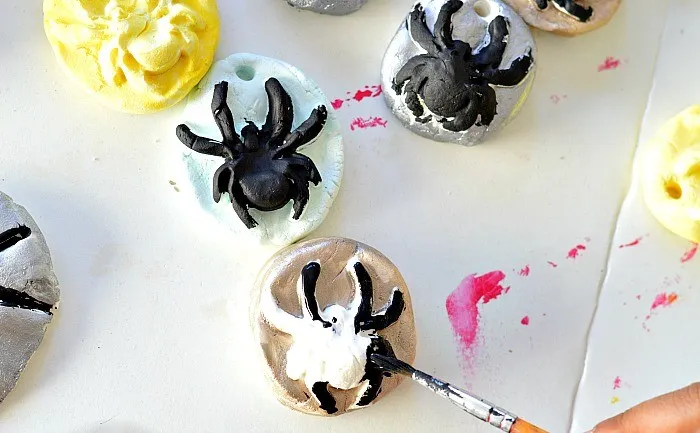
However they wanted the spider print itself to be black and we chose to paint just the spiders black and leave the background colorful. We used Americana Black Acrylic Paint for this. Since the painting involved a lot of details, we chose smaller brushes so the kids could try to do their best in coloring just the spiders black.
halloween-spider-activity-painting

Colorful background but black spiders. The cornstarch clay cracked a wee bit. { Maybe Air Dry Clay won’t do that}
spider-jewelry-craft

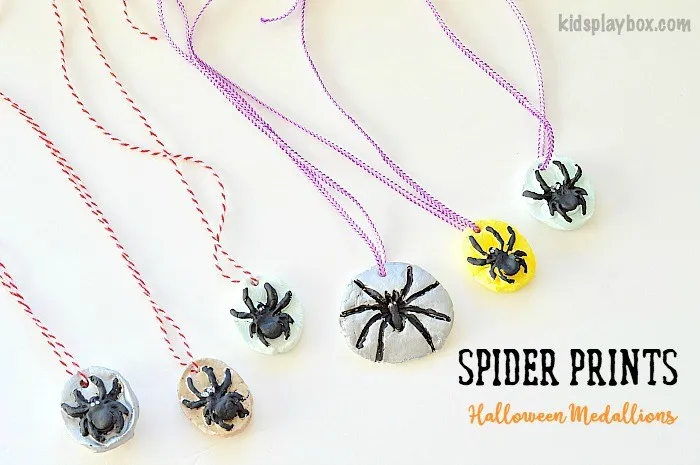
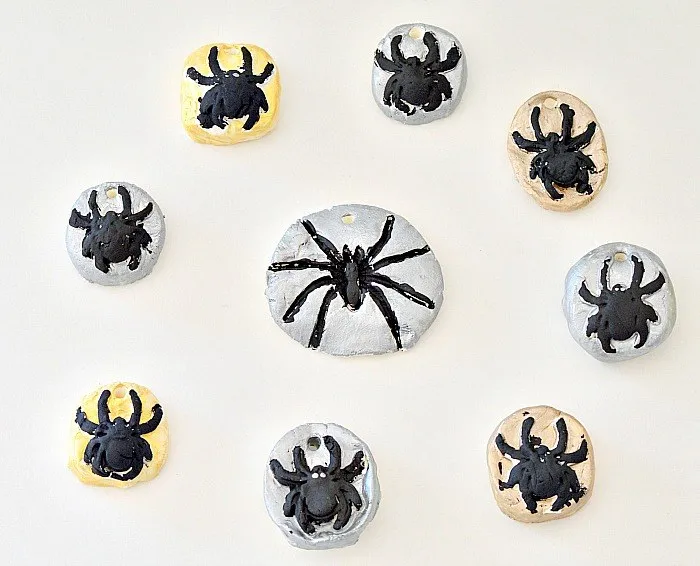
So these spiders were made a little bit differently. We did not start off with colored clay. We simply used white clay and took the spider prints and had them dry. Later we used shimmery **Metallic Acrylic Paint**to paint the background and used regular Americana Black Acrylic Paint the spider itself.
spider-crafts

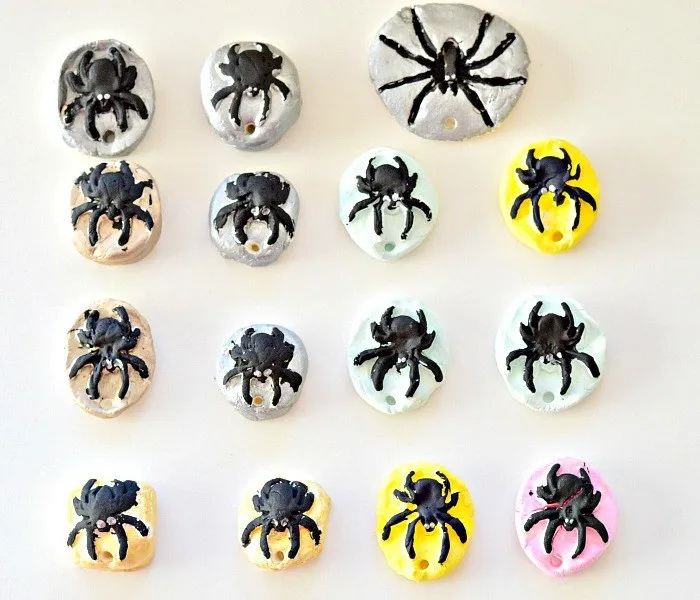
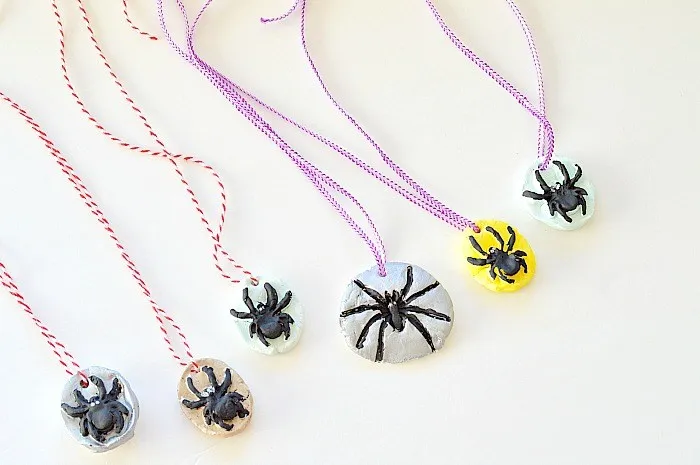
Just the one big black spider was printed with a plastic spider and not the ice cube tray. If you want more of a 3d embossed effect go for the ice cube tray. But using a regular plastic spider, you will get a regular printed effect like the one you see in the middle.
all-medallions

You can see the difference between using a ice cube to take prints and using a plastic spider to print on the clay itself.
bug-medallions-craft

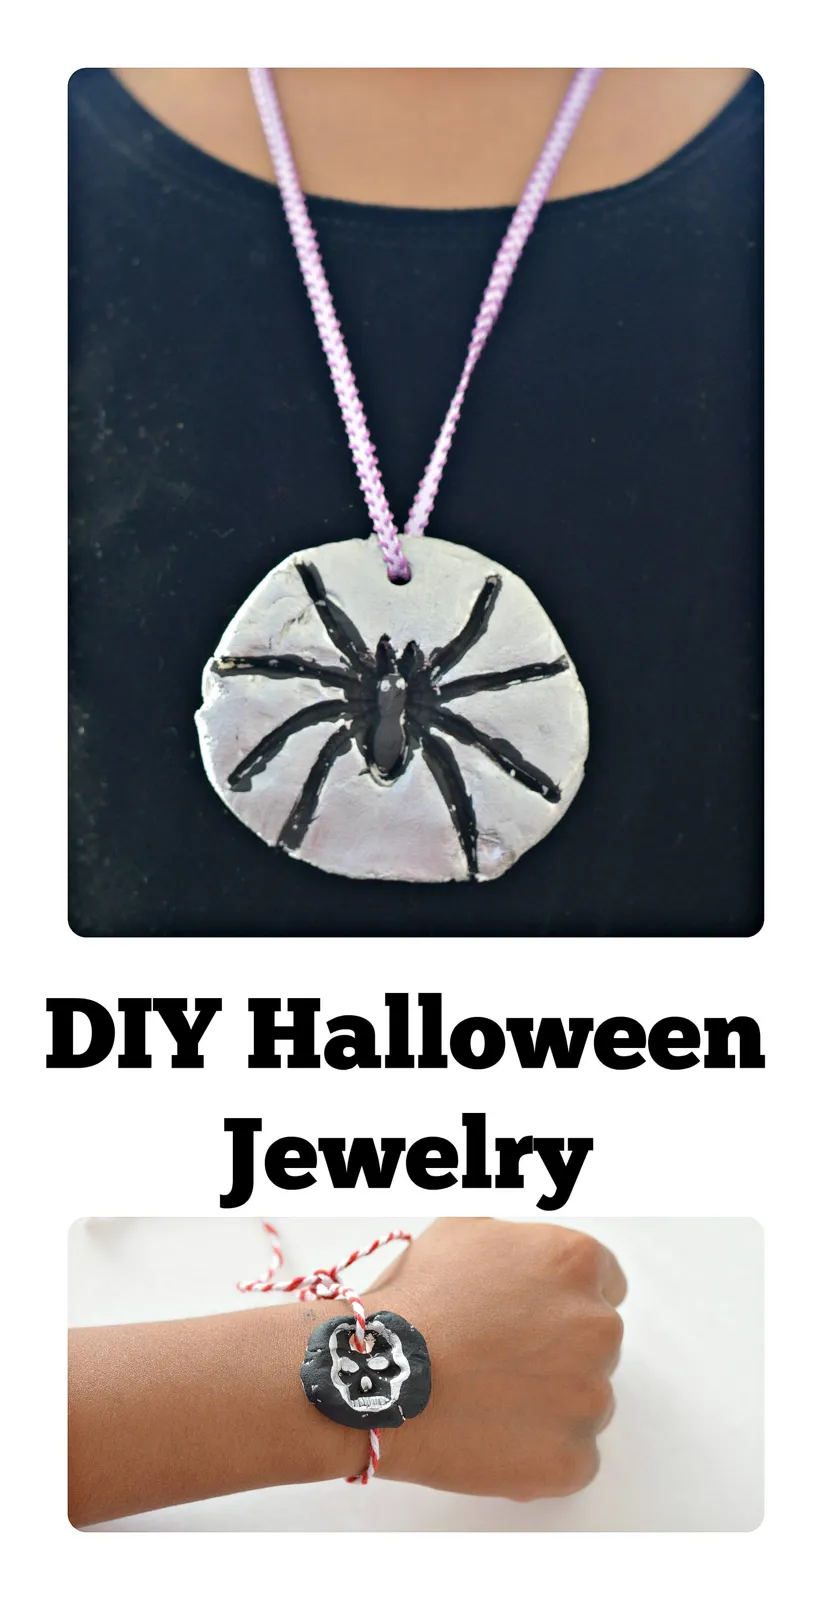
String pretty yarn/ ribbons through the holes and make FUN spider medallions for your Halloween Party.
medal

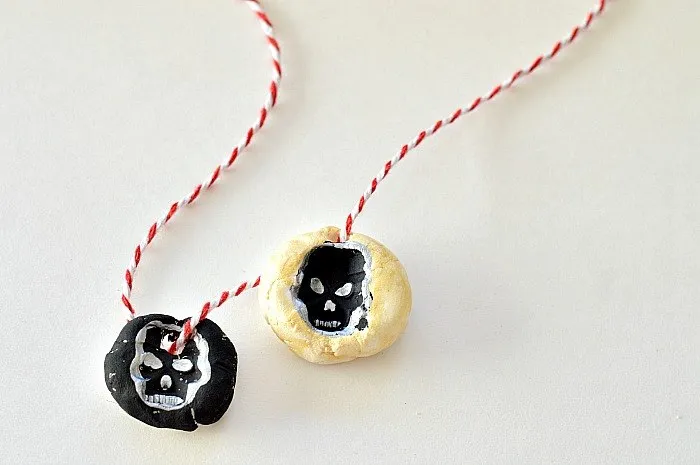
We also used our plastic skull rings and printed on the clay and made bracelets.
spooky-jewelry

Perfect to go trick or treating.

halloween-themed-kid-jewlry

Extra tip: Use glow in the dark clay by adding some glow paint to the clay and made the process even more FUN!
halloween-jewelry-for-kids

pin

spider-print-medallions

What readers say

No comments yet. Be the first to tell us how it went.

Tried it?

Reviewed before it appears. No links, and please no children's names.

Similar activities

🛒 Materials