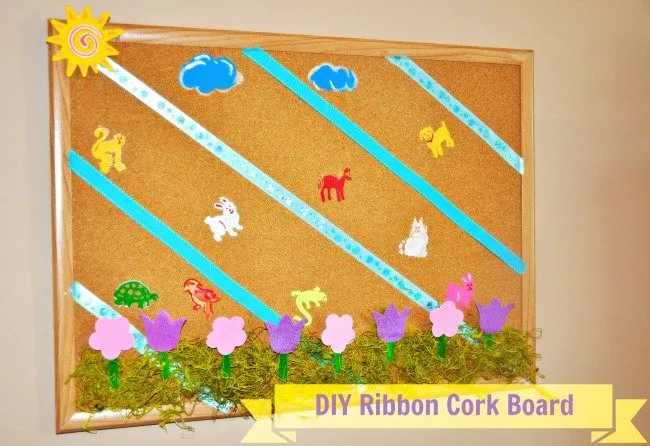
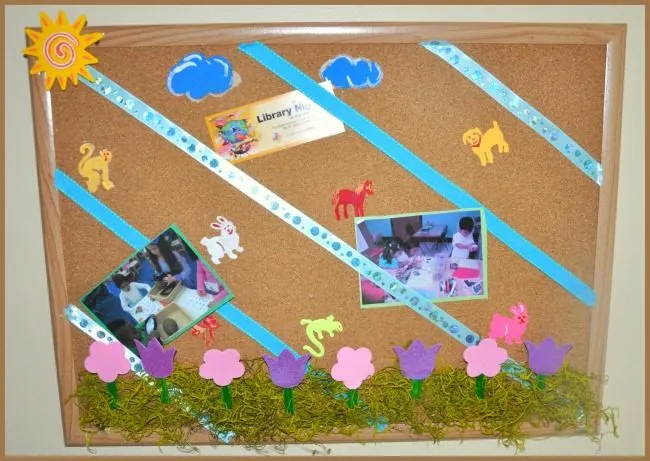
Turn a pre-framed cork board into a personal organizing board. Add diagonal ribbon strips, a moss-and-foam-flower garden along the bottom, and stenciled animals. It gives a new kindergartener a place to pin school papers, invites and pictures.
Adult handles the hot glue gun. Hot glue and the gun's tip can burn.
Adult cuts the craft sticks in half, since cut sticks can splinter.
Acrylic paint is not taste-safe and can stain clothes. Cover the table, use smocks and wash hands after painting.
Moss bits and small foam pieces are a choking risk. Keep them away from little ones who still mouth things.
Adult hangs the board using the mounting hardware and instructions that come with it.
Before the kids arrive
Pick a theme from your summer. Ours was zoo trips and gardening.
Decide whether to paint the frame to match your theme or leave it plain.
Steps
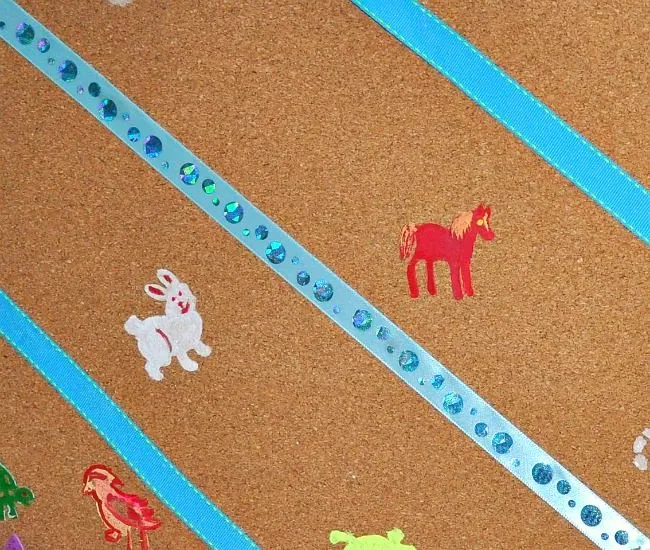
Adult: run a ribbon diagonally from one corner of the board to the other, cut it to fit and hot glue the ends to the cork.
Adult: repeat with the other ribbons, spacing the strips an equal distance apart and gluing the ends down.
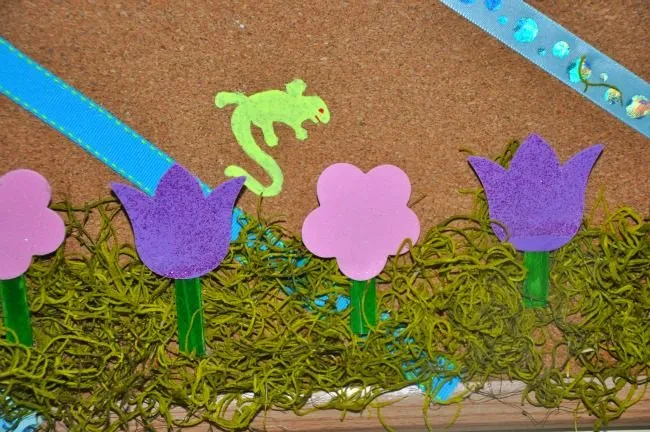
Adult: glue moss along the bottom of the board to make greenery.
Color the craft sticks green. Adult cuts them in half.
Glue a foam flower to each stick, then glue the flowers onto the board in the moss.
Hold an animal stencil on the cork and paint the animal with acrylic paint.
Add the details and let the paint dry.
Adult: hang the board using the hardware and instructions that came with it.
Pin up school reminders, party invites, class schedules and pictures.
Tips
Getting a pre-framed cork board is a great time saver and money saver.from the author
I chose not to paint the frame because it matched my wall paint and I wanted the sketch to pop out more.from the author
My board was not removable from the frame, so I cut the ribbons to fit and hot glued the ends right onto the cork.from the author
Stenciled acrylic animals were the right amount of color and pop to attract my kindergartner.from the author
Use the finished board to teach your child to organize their school papers independently.from the author
Make it your own
Paint the frame to match your theme.
Base the theme on your own summer, e.g. zoo trips and gardening like ours.
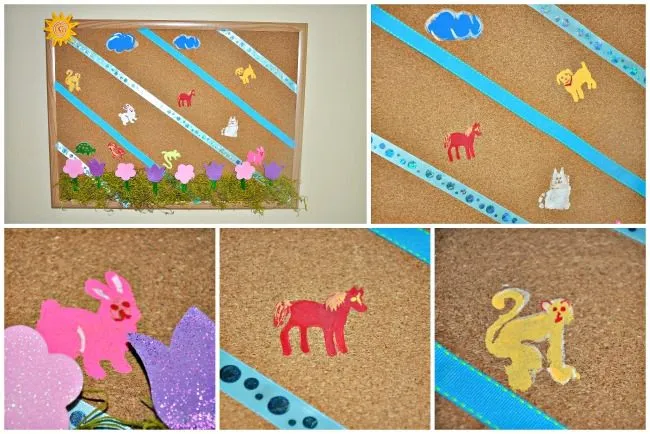
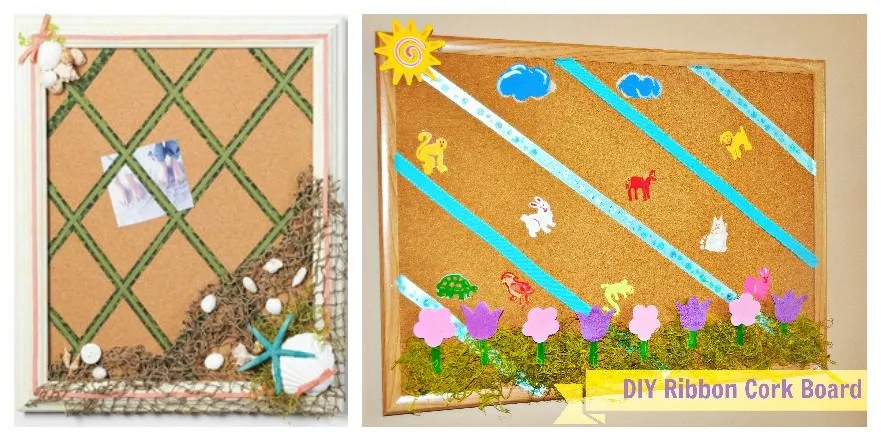
Crisscross the ribbons in a lattice and use a beach theme with shells and netting, like the Jo-Ann sample in the side-by-side photo.
The story behind it
By TurkeyMom · June 2013
I chose this fun and easy Ribbon Cork board. It will come in very useful when the school year starts and my brand new kindergartener needs a space to pin her important stuff.
I ran the ribbons diagonally from one corner to the other, cut them to fit and hot glued the ends. Repeat with the other ribbons to create strips with equal distance.
Once the ribbons are in place, glue moss on the bottom to create greenery. Color the craft sticks green, cut them in half, glue the flowers to them and secure them to the board.
I chose some animal stencils and painted the animals on the board with acrylic paint. It was the right amount of color and pop it needed to attract my kindergartner.
The board usually comes with its own wall mounting nails and screws. Simple and pretty, and perfect for teaching her to independently organize her papers from school.
Here is a side by side picture of Jo-Ann's product and ours. I chose not to paint the frame, as it matched my wall paint and I wanted the sketch to pop.
1 / 6
🔇 No sound? Turn off silent mode (the switch or Action button on the side of your iPhone) and check the volume.
What readers say
No comments yet. Be the first to tell us how it went.